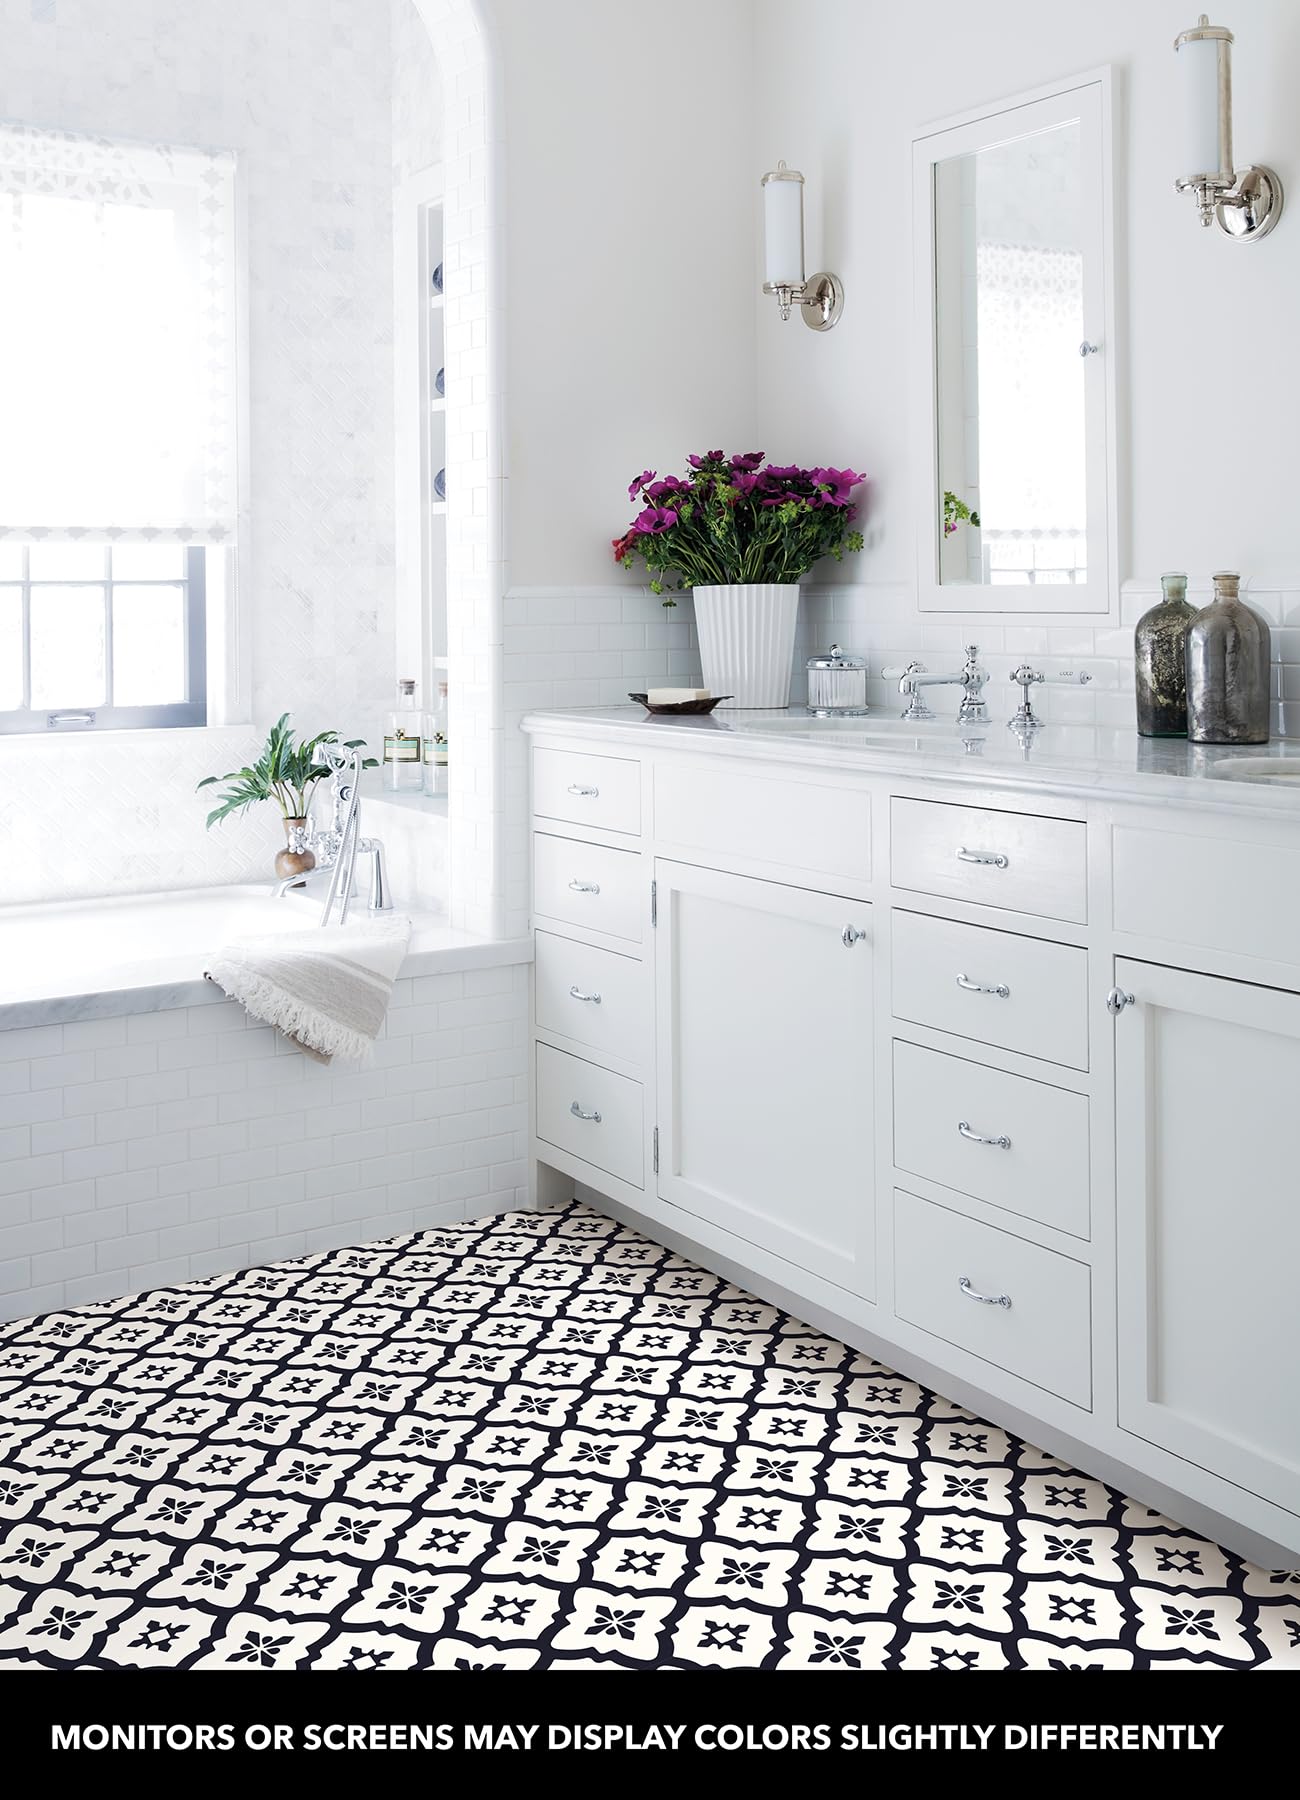
✨ Stick, Style, and Slay Your Floors! 🖤
FloorPops FP2480 Comet Peel & Stick Floor Tiles offer a modern, easy-to-install flooring solution with durable virgin vinyl, water resistance, and a sleek black geometric design. Each pack includes 10 tiles measuring 12x12 inches, covering 10 sq ft, perfect for stylish, hassle-free upgrades in kitchens, bathrooms, and more.
Brand | FloorPops |
Color | Black |
Item dimensions L x W x H | 60 x 24 x 0.06 inches |
Recommended Uses For Product | Residential flooring in kitchens, bathrooms, laundry rooms, entryways, workshops, basements, or other spaces requiring a durable, washable, and easily replaceable flooring solution. |
Theme | Black |
Special Feature | Easy to install, Water resistant |
Number of Pieces | 10 |
Style | Modern |
Embellishment | Glitter |
Age Range (Description) | Adult,Youth |
Reusability | Single Use |
Item Form | Sheet |
Pattern | Geometric |
Indoor/Outdoor Usage | Indoor |
Finish Type | Semi-Glossy |
Water Resistance Level | Water Resistant |
Number of Items | 10 |
Global Trade Identification Number | 00091212268029 |
UPC | 091212268029 |
Manufacturer | FloorPops |
Part Number | FP2480 |
Item Weight | 5.75 pounds |
Product Dimensions | 60 x 24 x 0.06 inches |
Item model number | FP2480 |
Is Discontinued By Manufacturer | No |
Size | 10 Sq Ft (Pack of 1) |
Finish | Semi-Glossy |
Thickness | 0.06 Inches |
Installation Method | Self-Adhesive |
Item Package Quantity | 1 |
Coverage | 10 sq ft / box |
Special Features | Easy to install, Water resistant |
Usage | Floor, Kitchen, Bathroom, Living room, Indoor |
Included Components | Floor decals |
Batteries Included? | No |
Batteries Required? | No |
Warranty Description | Limited lifetime warranty., Www. Reg. Wallpops. Com. |
A**A
Pleasantly Surprised!!!
I’ve never laid flooring before and though I never stray away from a home improvement project, I honestly had little expectations with it being sticky tiles, as well as my ability. BUT WOW!!! I am so happy I went for it. I originally planned to just do my laundry room floor where my pig resides, but I kept going because I was so impressed with how easy it is to install and how great it looked. I did a total of four adjoining rooms. My pig’s room was down to the sub-flooring, the other three rooms I laid over lament, and as a side note, the rooms transition nicely. I did use a divider between the rooms laid over lament and my pigs’ room. The more I installed the more I learned...I recommend using an additional spray adhesive. I used the orange bottle (I believe gorilla glue) and it makes a world of difference with the hold (and with a pig and dogs I wanted to make certain it wasn’t going to come up.) The longer you wait after spraying the backs of the tiles and the floor, the stronger the grab is. So make sure you line your two edges before pressing down, cause once it’s down, it’s down.The pattern is amazingly forgiving. My home is over 100 years old. Nothing is level or square. I was so worried when the pattern was slightly off but not off enough to try to cut (I’m horrible at cutting, but that may be because I only had a steak knife). When you are up close installing it, you think the slight imperfections in the pattern are going to ruin the whole project, but don’t stress, once done you won’t be able to notice. I even went back looking over the specific areas, and couldn’t identify them.If you line up the edges of the tile and bend into place (the size you need) then bend the opposite direction, the tile makes a clean break, no cutting needed. I learned to leave the backing on and bend into place vs laying the tile and attempting to cut the excess. The trickiest area being around the toilet. You’ll want to order extras for mess ups and well I’m certain you’ll find other areas to spruce up and install (closets or whatever).Once done, you’ll discover occasional spots where the glue from the backing made its way to the front of the tile. I spent a lot of unnecessary time scrubbing- rough sponge, dry eraser, etc... then I discovered if you put some oil on a paper towel, it comes right up (no scrubbing necessary). I was so angry, but relieved when I discovered this.I’ve attached pictures, so judge for yourself the appearance of my rookiness, but I can say, if you use the spray adhesive (just a light dusting on both surfaces nothing too extensive) this floor is amazingly sturdy. My pig roots at the flooring, which is why his room had only sub flooring, and the tile in his room is withstanding his big snout and hooves so far... but honestly I’m not even worried because if a tile gets damaged, I’ll just replace it. He also frequently spills his water and the water just sits on top, and hasn’t impacted the hold even slightly.One last perk, I had a solid color flooring (it was 30 years old and hideous) but I thought I would be cleaning this new floor more often, but I’m actually cleaning less! It somehow hides the day to day dirt, pet hair, etc... much better! I had to adjust to having pattern, but it totally brightened and transformed the spaces. I couldn’t be happier!! I did not notice any variations in pattern from box to box either, and I had 33 boxes!!! I went through 6 cans of adhesive.
A**I
Get them. They’re great!
The media could not be loaded. Absolutely love these! I did a lot of research on different brands and these were the best choice w decent price. I am renting, and the bathroom tiles were in bad shape. I wanted something durable, easy to use, inexpensive, and potentially removable. I bought 3 packs to cover my small bathroom- this left me wiggle room in case I messed up a few (which I did.) I laid them all out first to see where it’d be easiest to start. I chose to start along my vanity, bc I wanted those to be the straightest since I felt like that’s where people would be seeing them most. I made sure to rotate the tiles and line them up where the pattern was cohesive. They don’t all like up perfectly, but pretty close and unless I pointed it out- a naked eye wouldn’t notice. I made a “template” of weird corners and around my toilet, drew/measured that on the backing of the tile, and then cut w sharp scissors. They are easy to cut- so it took me no time. I made sure the floor was super clean w bleach and swept and dusted multiple times before starting. I used my blow dryer and heated each sticky side of tile before pressing firmly in place. There were a couple that I measured wrong, or cut at the wrong angle. I was able to pull them off the floor pretty easily- but none have moved since I put them down. They’ve been on for a couple weeks- with two messy little boys who come in w sticky fingers, splash around in the tub, and are still working on their aim at the toilet ;) these have held up great and I’ve had zero problems. They look great, so easy to put in (took me 1.5 hours!) and clean even more easily than the tile underneath. I’m in love. Such an awesome product!!Also! I originally bought 2 packs of ten, and after laying them out decided to buy 1 more. Every pack was consistent w color and pattern and size- which is what I was concerned about and some other products I’ve heard that was an issue!
Trustpilot
4 days ago
1 week ago