
Desert Online General Trading LLC
Dubai, United Arab Emirates
Desert Online General Trading LLC
Dubai, United Arab Emirates

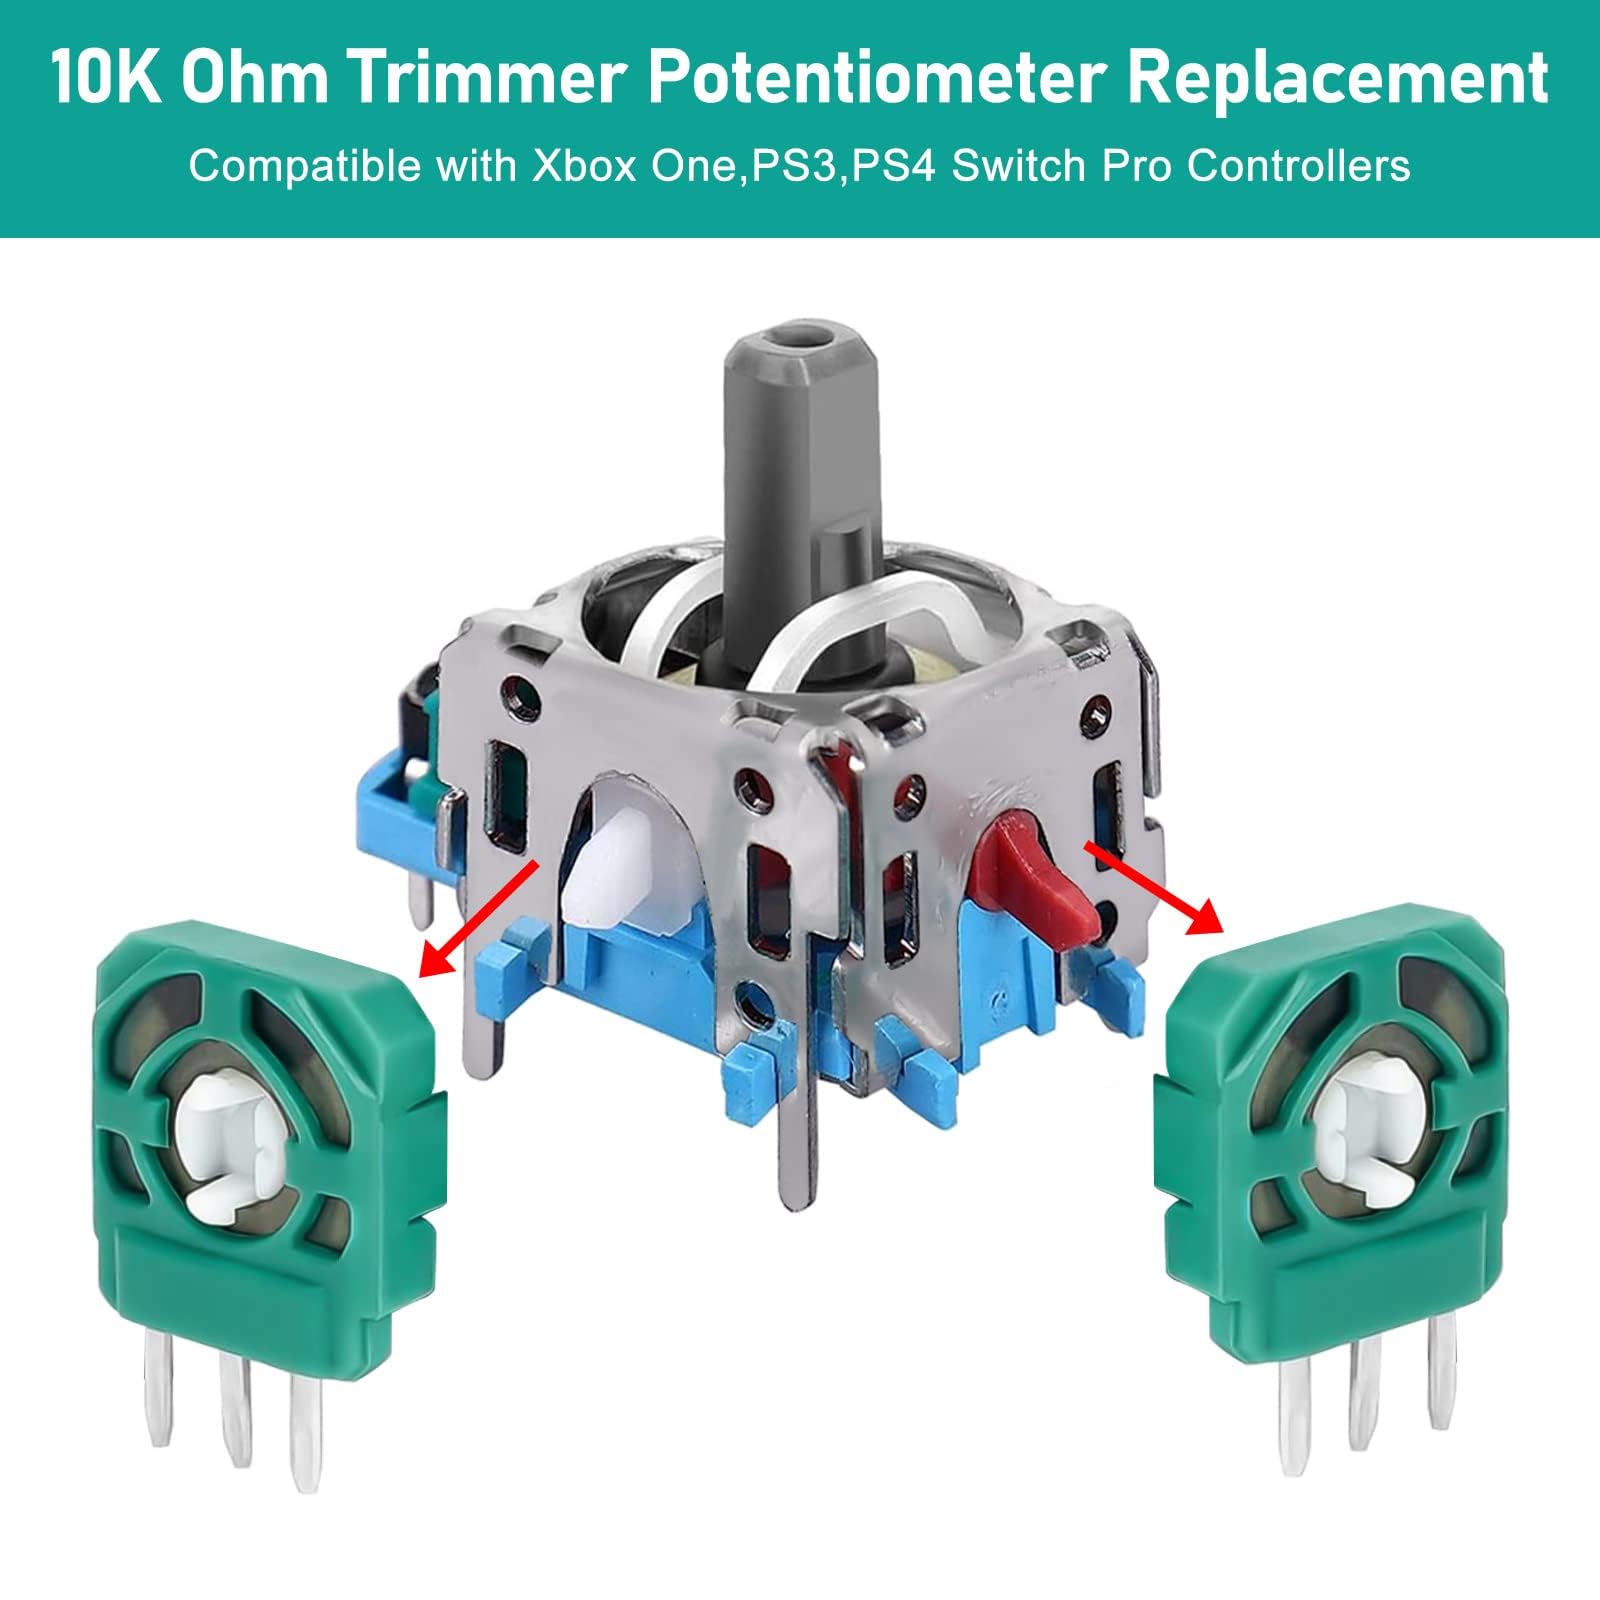


🎯 Level up your controller game with precision you can feel!
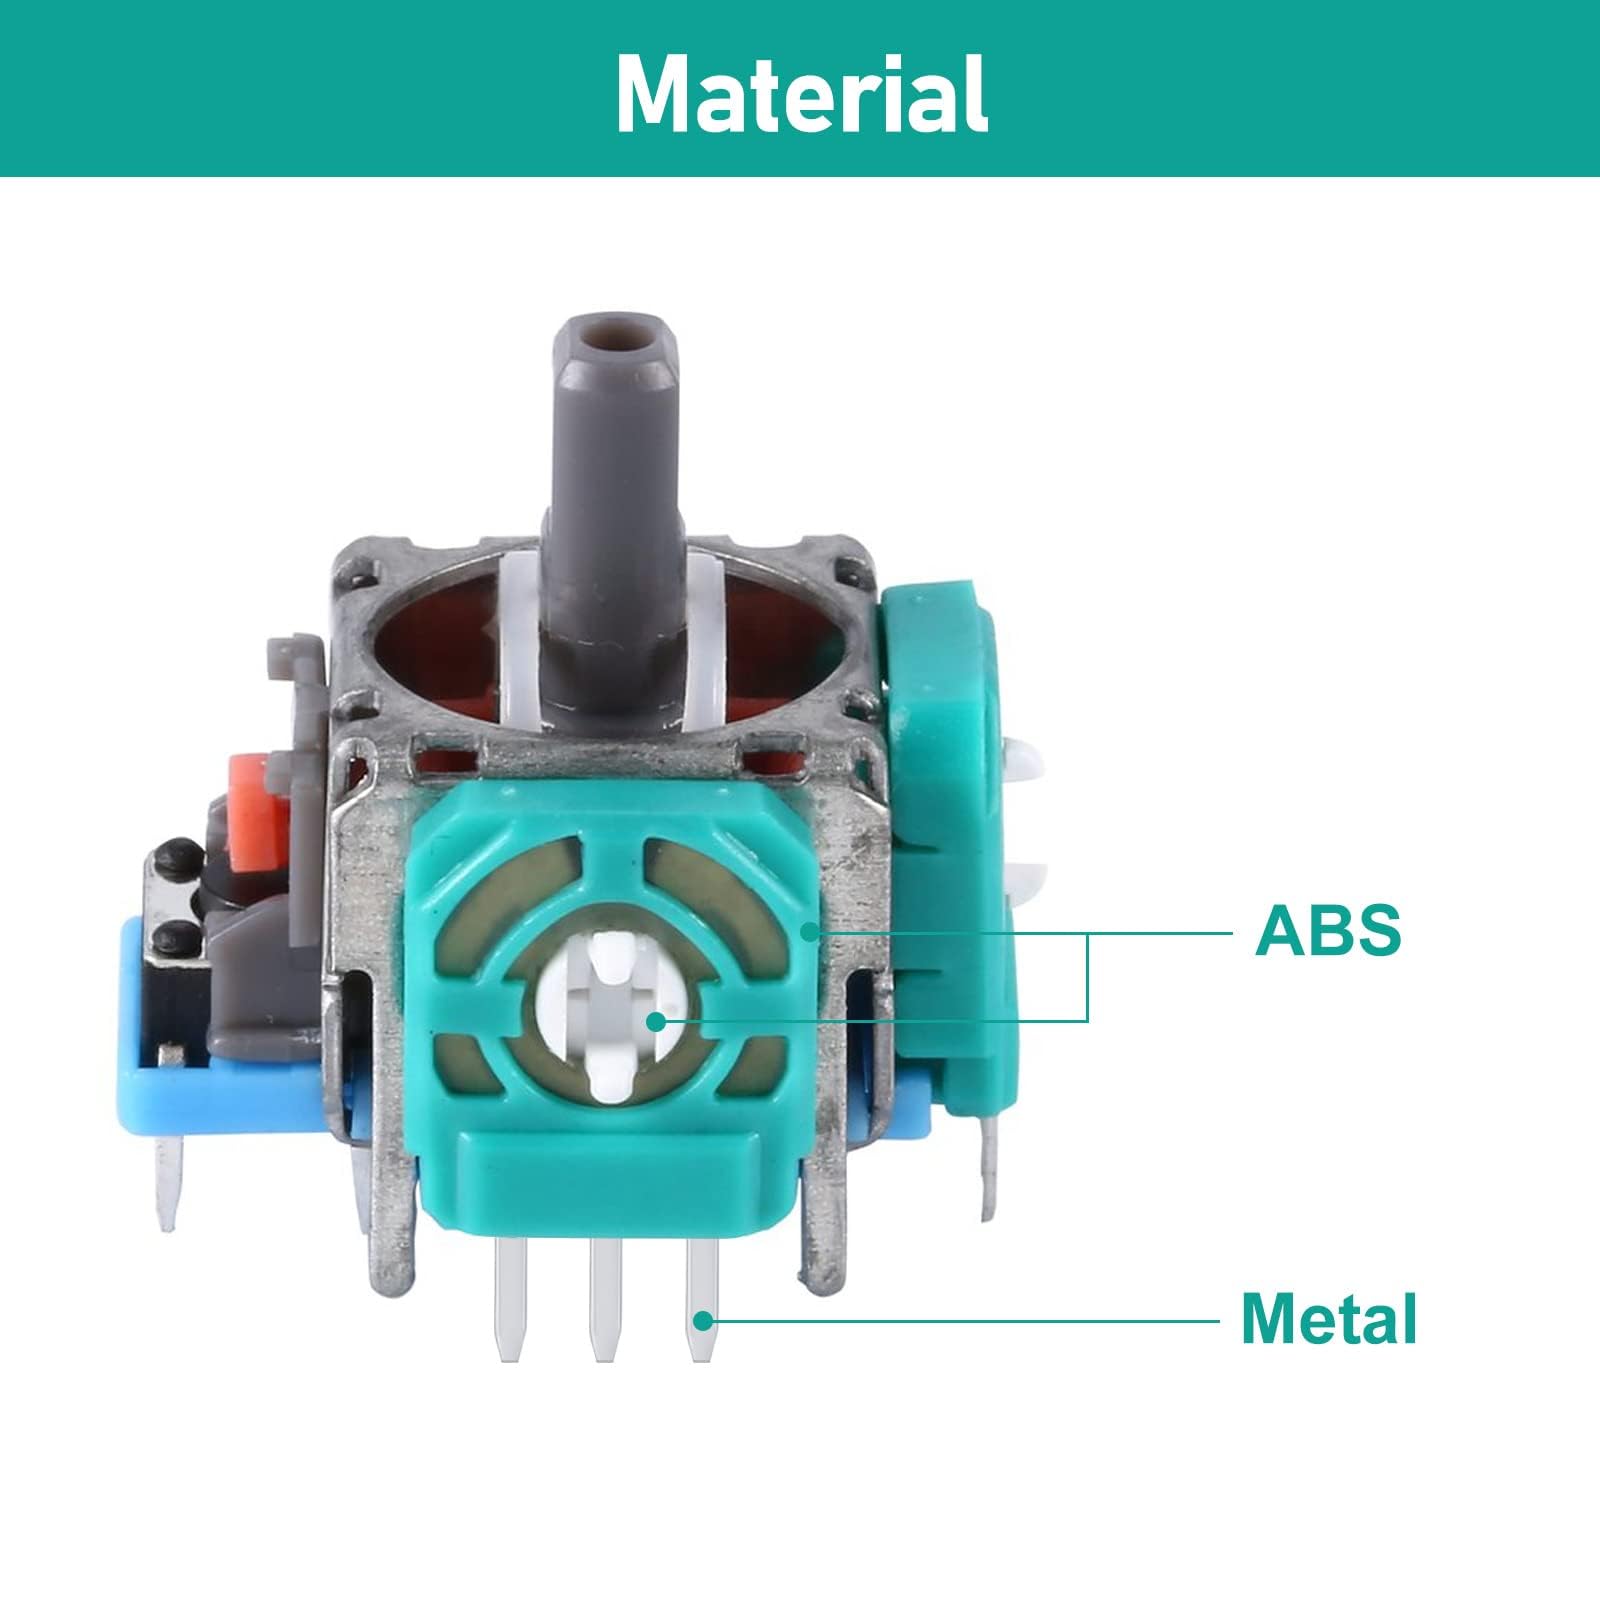
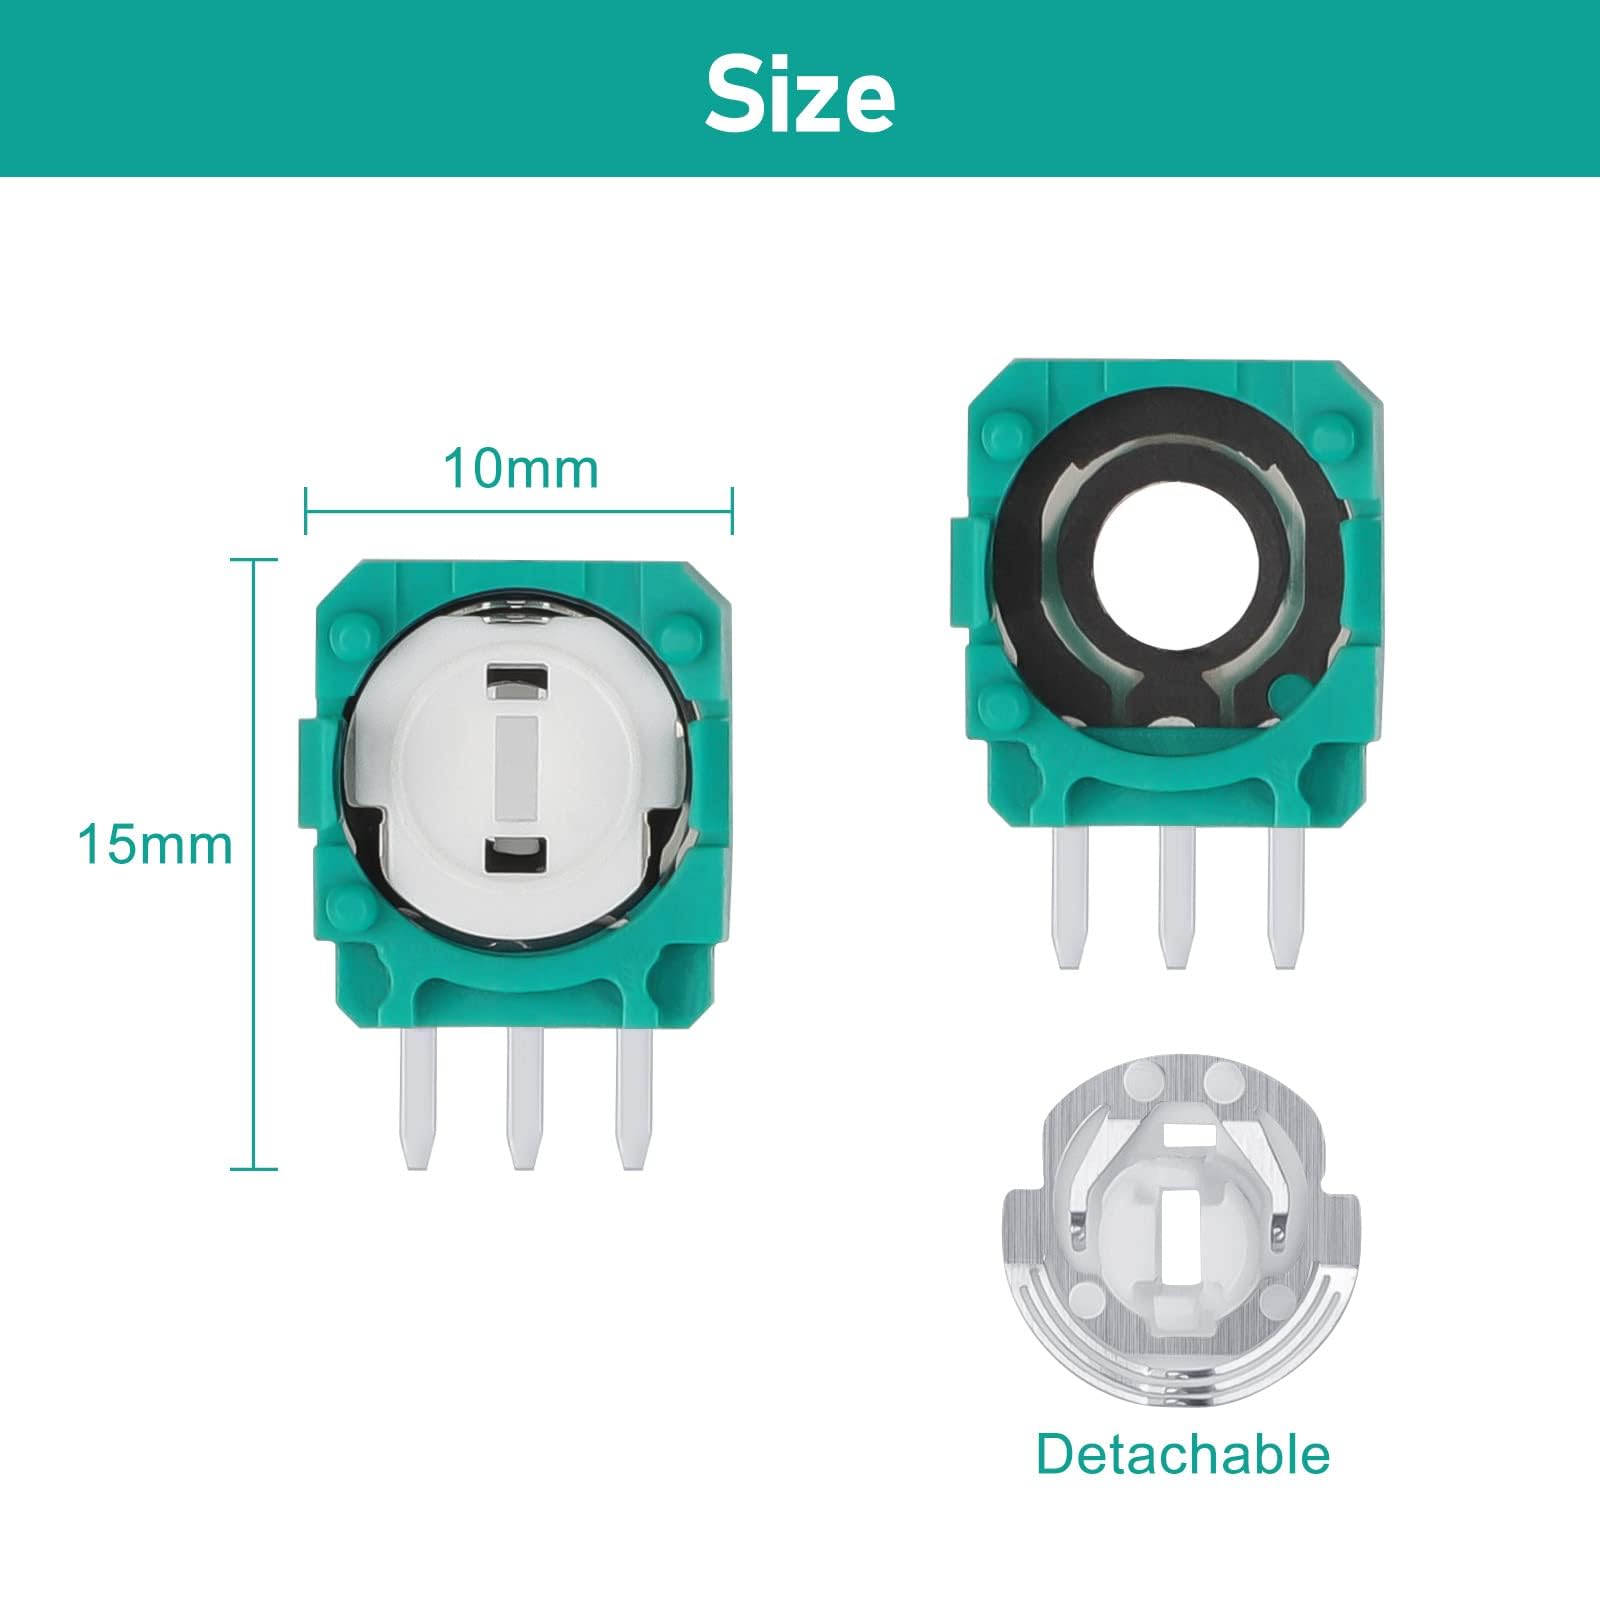
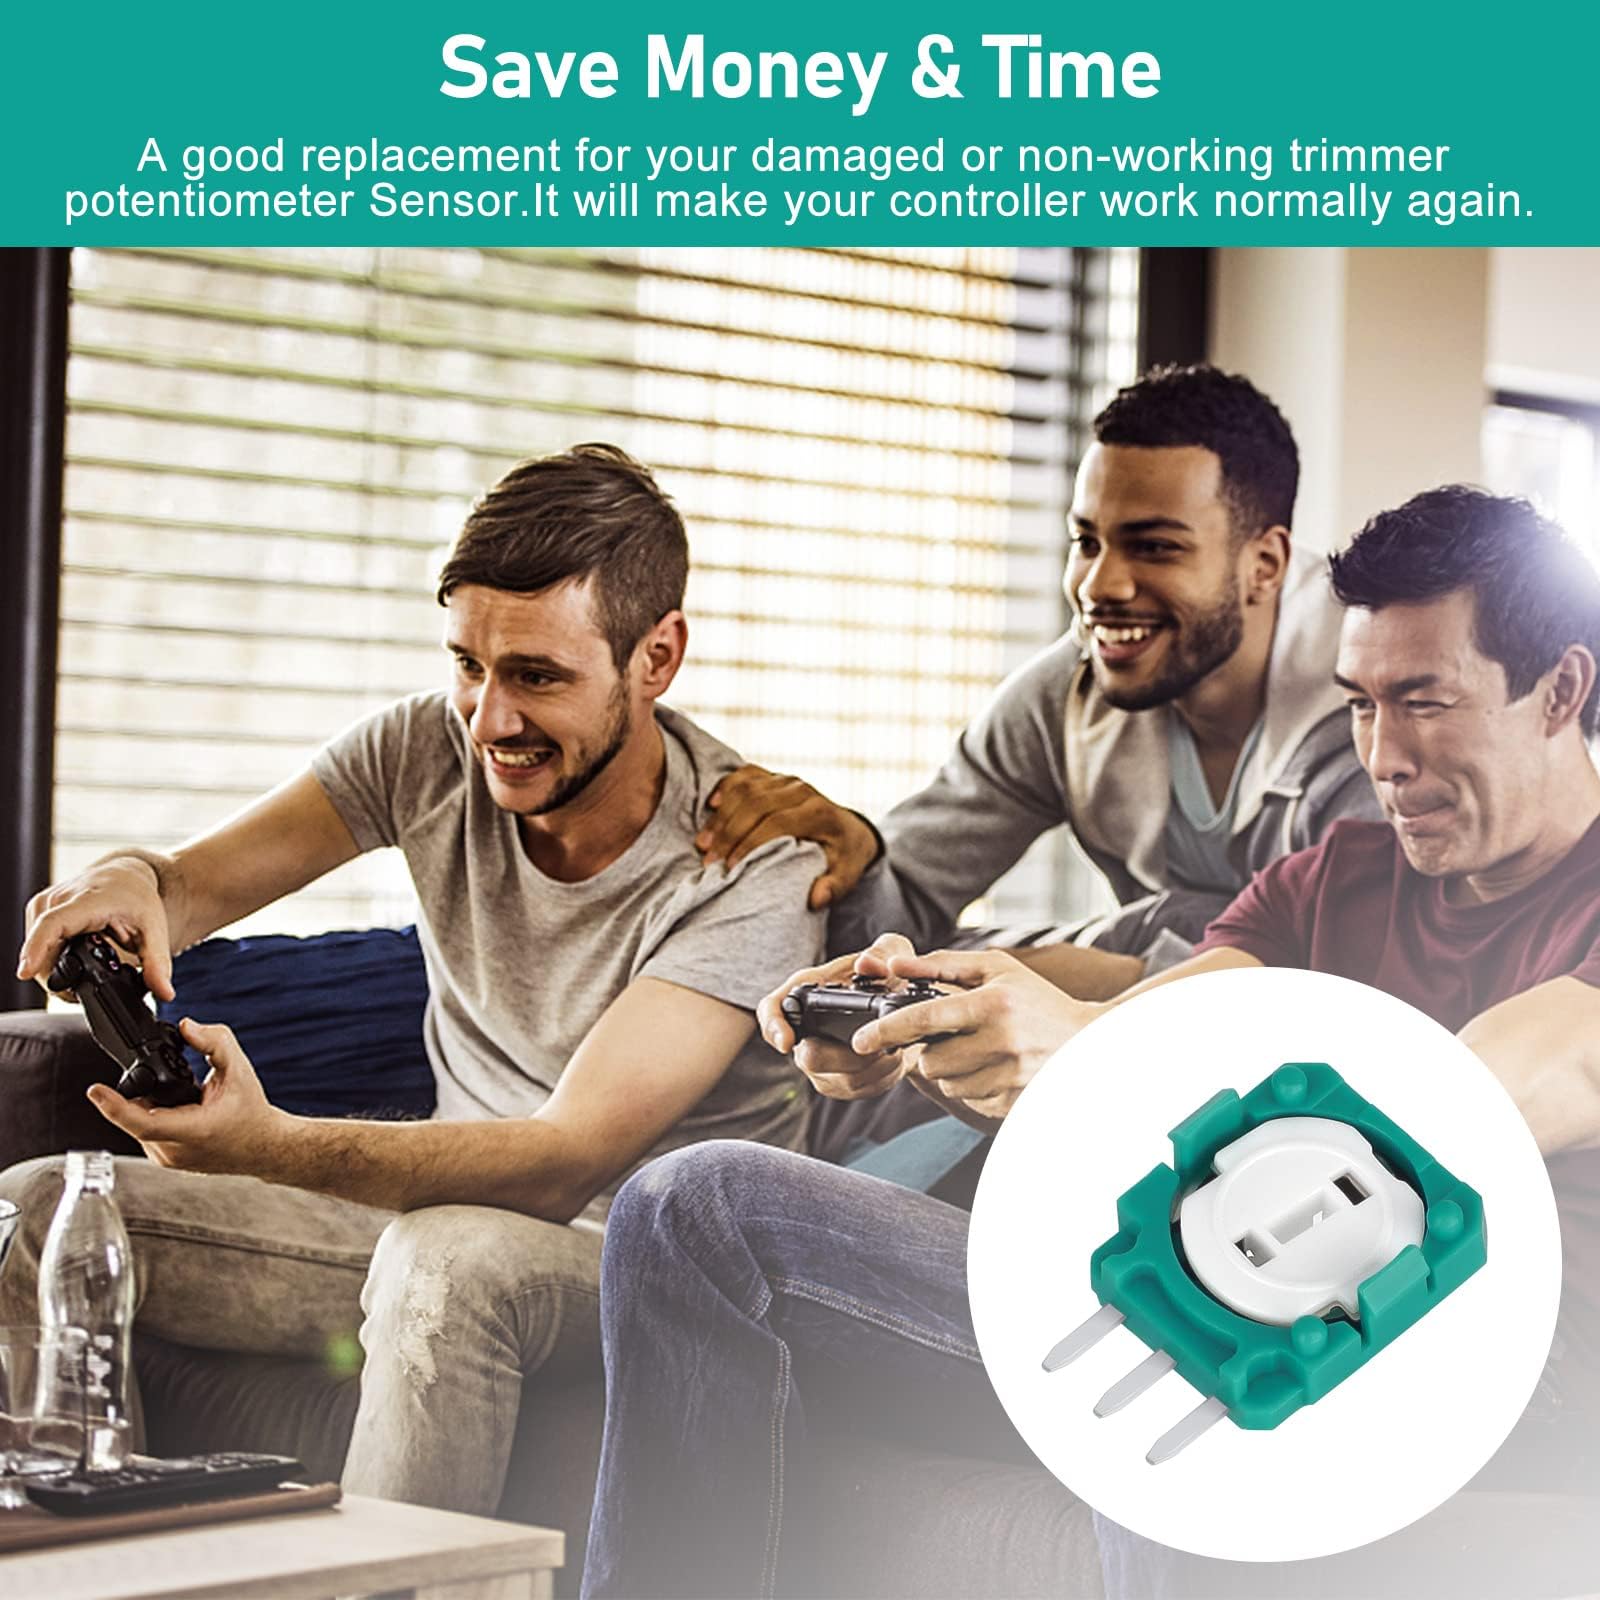
The EEEKit 20pcs Replacement Trimmer Potentiometer Sensors are high-quality 10k ohm components designed to restore joystick accuracy and responsiveness in Xbox One, PS3, PS4, and Switch Pro controllers. Made from durable ABS and metal, these sensors fix common joystick issues like dead zones and jams. The pack of 20 enables easy, tool-free DIY repairs, ensuring your gaming controllers perform like new.


| Additional Features | Wireless |
| Power Source | Battery Powered |
| Hardware Platform | PlayStation 4, Xbox One |
| Controller Type | Joystick |
| Compatible Devices | Xbox One |
| Item Dimensions | 0.39 x 0.59 x 0.2 inches |
| Package Quantity | 1 |
| Color | Green |
R**H
Worked
Bought these in an attempt to fix some stick drift on an Xbox One/Series X controller. Vertical drift on the left stick. Since the drift would come back a day or two after cleaning the potentiometer discs with isopropyl, I decided to try and replace the problem part itself.I didn’t want to go through the hassle of soldering, so I just replaced the disc inside. Worked perfectly so far. No drift and haven’t noticed the sensitivity being all that different. If it comes back, it was a 5-10 minute fix and you get 20 of them. Tested on Borderlands 3, Halo(s), Battlefield 4
L**A
Blue pack; White disk/ potentiometer replacement for ps4 controller Left stick drift
As other users commented, I bought this set for the white disk replacements for my ps4 with bad left stick drift.At first, I tried cleaning the original controller and part, but part of the sensor was missing from one side of the original white disk/sensor. BTW, the white sensors are sensitive and can easily break; be careful when handling.Taking these parts apart and replacing the white disk from the PS4 controller was easier than cleaning the part. I couldn't find just 1 white disk to buy, but figured with this pack I wouldn't run out of white disk.I did NOT try to replace the whole joystick; you would need more tools and to solder it. After taking this new part apart, I can agree with other users that they're definitely not the same quality as the originals, and I think if you were to replace the whole part you would be disappointed with the drift/sensitivity. Noticeable differences in quality of parts.I only used 1 of the white disk inserts to replace the old part. 10/10 recommend; easy fix.PS4 controller Left stick drift when pushing up.
K**R
Good replacement part
I had a DualShock 3 controller that had a joystick that was sticking and binding at the edges of its range of motion.I was able to just drop these in place and replace the malfunctioning joystick. Haven't done much testing yet, but a tentative test (just to see if they worked) in a game indicates that they work well. I will try to remember to update this review once I've played some games with them installed.
M**K
It works, but not as great as the original.
I bought these for the potentiometer but ended up just replacing the whole joystick in my Xbox One controller. Got it all soldered in and the range of motion is not as great as the original. I swapped the left stick in my controller, and kept the right one alone as it works fine. Comparing the two, the replaced stick has a hard time of holding it's position. It seems to prioritize 8 directions and difficult to keep the joystick out of the deadzone, maybe 50% out. Gonna leave it in as it works ok and didnt have any problems playing games but buy a better quality one if you can spot one.
C**E
Good replacement potentiometer disks for the Sony PS4 CUH-ZCT2U Dualshock wireless controller.
In my experience PS4 model CUH-ZCT2U Dualshock controllers lose sensitivity on the left joystick - especially forward motion. This isn't surprising since this is the most frequently used gesture on the stick and consequently the most significant wear point on the joystick forward/ backward motion potentiometer. This results in such symptoms as no forward motion, stuttering forward motion, and L2 causing incorrect forward motion. This can drive you nuts when your mega-duking it out with your favorite foes.I did not replace the entire joystick - that requires desoldering the old joystick from the mobo and soldering the new one in place. Unless you are VERY good at doing this you will destroy the mobo. Instead, you can open the joystick potentiometer without removing it from the controller motherboard and simply replace the disk. There are many tutorials on the web which provide detailed instructions for this procedure. It is straightforward but it does require you to be meticulous in disassembly and use an organized workspace.These disks are not 100% identical to the originals. There are some visible slight differences. But they do fit and motion control seems to be the same. The enclosed photo shows the original disk on the left and the replacement on the right.After cleaning the left joystick pot casing and replacing the disk forward/backward joystick sensitivity has returned, drift has been eliminated, and the annoying erroneous forward motion from the L2 button is gone. Initial testing is good. Still TBD is testing under heavy gaming conditions and how well it will wear. But so far, very good. I brought two malfunctioning controllers back to life with a little time and patience and for less than 10 bucks.
J**2
Terrible product. Avoid at all costs
Installed in multiple controllers. A couple passed initial checked, but after a day failed with incredible stick drift. Would avoid wasting time and money. Don't cheap out on these poor quality knock off parts. You get what you pay for. Buy a better quality product than these poor imitations.
J**M
These worked for me. You just gotta be careful and use the right tools (tweezers)
I was not expecting much buying these because of the poor rating but because i'm experienced with opening things up and i have the tools for the job I went ahead and made the purchase. I very carefully, using tweezers, replaced the disk thingies inside the green slot thingies that's soldered into the controller with the ones from theses. opening the green slots on the controller enough to slide the disk thingy in requires patience and care. you're gonna have to use a bit of force with your fingers to close the green slot thingies all the way back into place. just not too much force that you end up breaking something. one of my bluetooth antennas broke on my controller during the process but it still works, i suppose my range is now limited. so be careful taking those off in the process. don't be hasty like I was.
F**A
Banished the drift in my PS4 controller
Worked perfectly for replacing the ones in my PS4 controller! No more slowly drifting towards a cliff or something in games.
Trustpilot
1 month ago
5 days ago
1 month ago
4 days ago