We remain fully operational. Our teams are working around the clock to ensure your deliveries continue safely.

下载应用程序


🔋 Power up your iPad, power up your productivity!
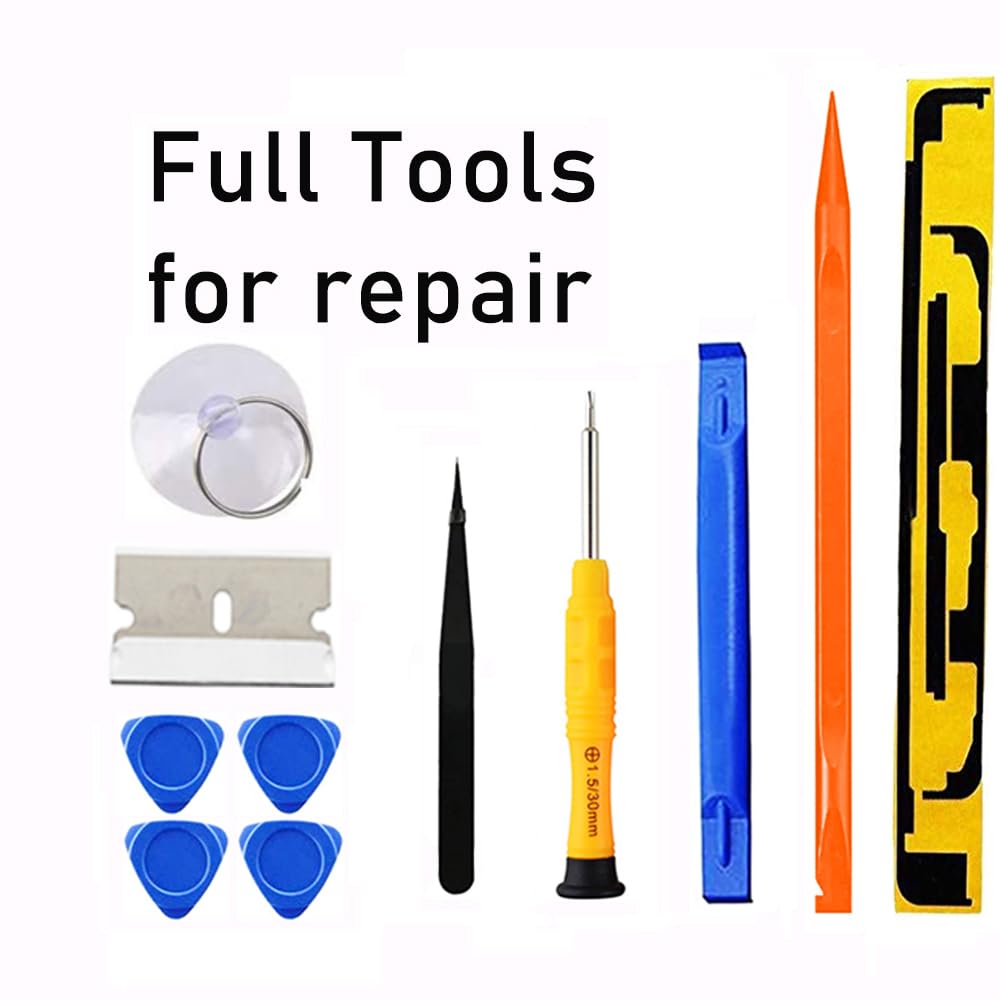
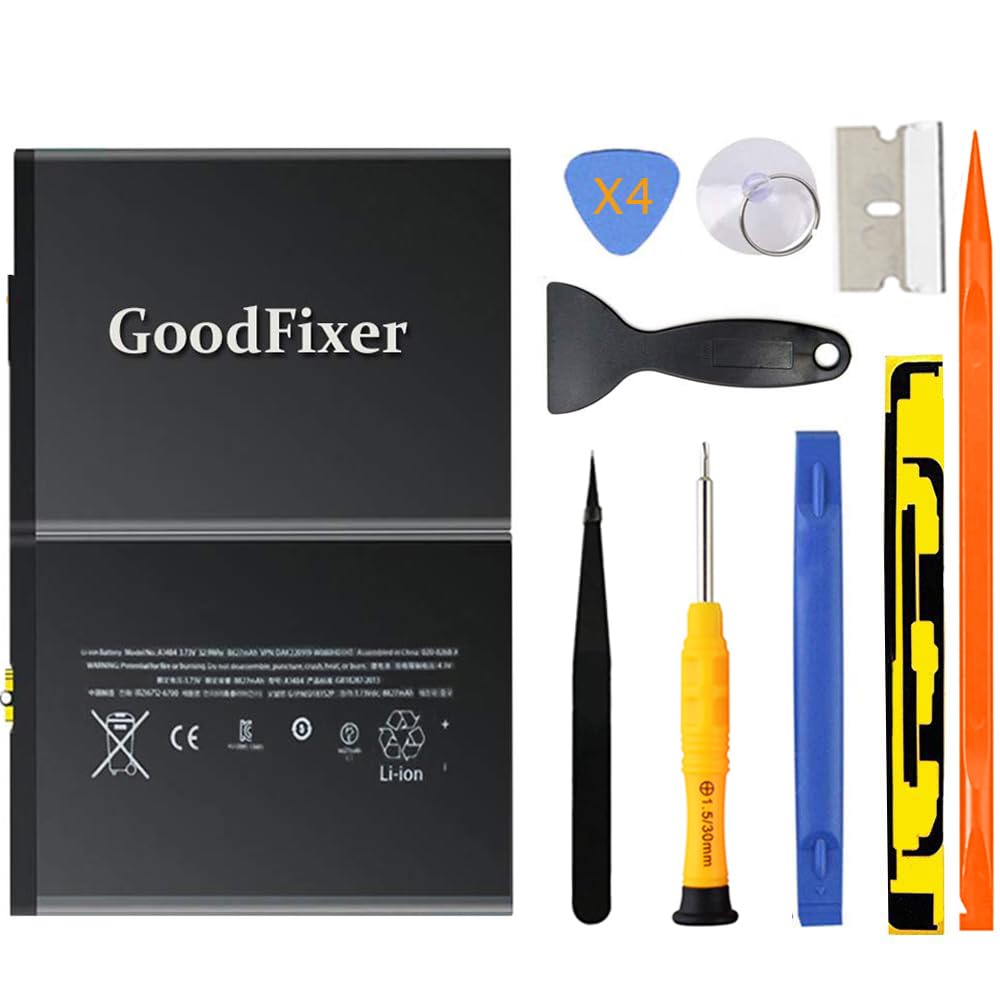
The GoodFixer A1484 Battery Replacement is a premium, brand-new Grade A+ lithium polymer battery with 8827mAh capacity and 3.73V output, designed specifically for iPad 5th through 9th generation and iPad Air 1 models. It comes with a comprehensive DIY toolkit and adhesive strips, backed by safety certifications and a 1-year warranty, empowering professionals to confidently extend their device’s life and stay connected without compromise.
| ASIN | B07D35BCMD |
| Amperage | 2.1 Amps |
| Antenna Location | Tablet |
| Battery Capacity | 8827 Milliampere Hour (mAh) |
| Battery Cell Composition | Lithium Ion |
| Battery Cell Type | Lithium Ion |
| Battery Weight | 118 Grams |
| Best Sellers Rank | #7,286 in Electronics ( See Top 100 in Electronics ) #1 in Tablet Batteries |
| Brand | GoodFixer |
| Compatible Phone Models | iPad (5th/6th/7th/8th/9th generation) or iPad Air (just fit Air 1st) |
| Customer Reviews | 4.0 out of 5 stars 1,879 Reviews |
| Item Dimensions | 7.44 x 5.12 x 0.12 inches |
| Item Height | 0.3 centimeters |
| Item Weight | 162 Grams |
| Manufacturer | GoodFixer |
| Model Name | for iPad (5th/6th/7th/8th/9th Generation)||Air 1 |
| Model Number | A1484 |
| Number of Batteries | 1 Lithium Ion batteries required. |
| Recommended Uses For Product | Tablet |
| Reusability | Rechargeable |
| UPC | 663591882891 |
| Unit Count | 1 Count |
| Voltage | 3.73 Volts |
| Warranty Description | 1 Year Manufacturer |
J**E
GO SLOW!! ESPEC where the cables are..
The battery is great! Came 60% charged. Kit comes with every thing you need to perform the job EXCEPT heating element. YOU DO NOT NEED ANYTHING SPECIAL. A HAIRDRYER works just fine. IN FACT I would think preferable? So I'll start by saying this is not for the faint hearted or ppl with shaky hands for whatever reason. For me, I was fully prepared to lose it. WHAT IT DOESNT COME WITH ARE DIRECTIONS or any explanation about what tools are or when u will need them.. There are TONS of YT vids but I found F.I.W vid with 3.03ksubs and 133k views. It explains it thoroughly and shows intensive step by step. While the pad worked on was way newer than mine it was virtually same steps. WATCH ALL THE WAY THROUGH b4 attempting to fix. It is VERY CRITICAL that u do not cut through the digitizer (screen) connectors. They are very brittle from the years of heat from use and may break regardless upon opening. Honestly in hindsight I would just order replacement screen at same time. [Very cheap AND the one I got Came with better tweezers lol (by fixcracked) The home button doesn't support touch id if thats a big deal to you u can swap with your old one I guess] Anyway I subd a slew of pics and you can see where I'm holding the brittle digitizer screen cable connector that I broke while cutting through adhesive although I think it was pretty much snapped and why my iPad kept shutting off..but I digress. The 3 things to know.. 1. Hairdryer works awesom-ly. Best way I found was to hold it at medium heat about 1-1.5 in away and don't heat all up at once. Heat a side thoroughly then break seal. Heat next side then continue etc. You can heat all then do the individual sides also. 2. Do everything but the bottom right corner (the iPad being vertical) do that last and go as shallow in breaking seal as possible to not cut wires or f it and just order screen at same time. Plus u may Crack screen while fixing too so.. 3. Use a little dish to keep screws and parts in. There are only 2 sizes of screws and no need to keep track of what came from what it's pretty basic. The big ones are LCD the rest go to board pieces. Oh! And do not use anything but dry fluffy micro fiber cloth to clean dust or gunk from lcd!! If ur not a techy u might use goo gone on it to get some glue gunk off...or something..so i heard.... 😕 Good luck! 😀
O**I
Great replacement battery with tools.
I suggest you watch not only the video on the supplied QR code, but also several other ones. You will need a hair dryer or heat gun to soften the glue. It will take several attempts before it is soft enough to start peeling of the touch screen Heating the back plate to dislodge the Li-Ion battery is the hardest part. A few suggestions: - TAKE YOUR TIME! - get additional plastic cards or triangles to prop open the touch screen as you pry it apart - be sure to avoid the bottom right when using the razor blade. There are two ribbon cables there - to remove the batter once you dislodge it from the glue, you will need to slightly lift the motherboard and then you have to life and slide the battery pack. The battery connecter rests ln a small raised post. - Use a few boxes to keep the LCD and touch screen open (like a book) as you re-attach the cables - use a small silicone tray or magnetic tray to keep the screws organized. They are VERY small It tool me about 1.5hrs to complete the replacement. Everything worked on the initial boot test. The new battery had 75% charge from the factory. My only negative is that they do not explain how to use the supplied stickers which serve as the new adhesive. I missed using the one that goes on the right side because the ribbon cables were already connected. It still worked.
H**Y
Does not hold charge
Did not last for more than six months. iPad shuts off even though the battery s at 60% charge.
M**N
Check out You Tubes before trying to install!!!
This is a good product and it comes with everything you need to install a new battery. However- it does not come with instructions!!! Nor does it recommend a particular YouTube video to follow. So you are on your own. The most important thing they don’t tell you is that you will need a heat gun, high heat hair dryer, or a special heating pad to loosen the adhesive on the glass cover to remove it so you can then remove the touchscreen to get to the battery. You need to use the heat again to loosen the battery to remove it. None of the three videos I was following gave me enough specifics on how to seat the new battery. I did not reassemble it but at that point realized that I needed help. Luckily I have an honest and reasonable tech place nearby that confirmed my suspicions about the battery not being seated correctly. They also needed to replace the touchscreen. I don’t know if that was on me or not but that was an extra $130 plus the cost of the battery. Full transparency, I’m a 66 year old grandmother who likes to geek out occasionally on tech stuff but I also recognize when I’m in over my head. The tech guys did complement me on not breaking the glass cover because that usually happens when you try to remove it. I bought a heat gun for this project but truth be told I’ve wanted one for some other projects. This was a great excuse for that purchase! You need to heat the edges for at least a full two minutes before even trying to pry the glass off. I do recommend this battery. It comes with a tool set that you will need. Just find a video that has you removing the least amount of things from the casing and tells you how to properly seat the battery prior to reassembly. Overall I’m pleased with the route I went. It cost me around what I’d pay for a similar refurbished IPad and I’m really only using it for my young grandsons to play learning games on it.
D**E
Great battery, great price, two day delivery, and Excellent customer support!
A bit of a story here. The first battery I ordered from Goodfixer on Amazon arrived without the tools. I called Amazon requesting they send just the tools, but they couldn't, they sent me the correct complete kit with tools instead. Free of charge. They let me keep the first battery, that was nice, because returning is a 30 mile round trip to UPS drop off point. Customer service was very nice, as always with Amazon. But as it turned out, once I got the second kit with tools and opened up the iPad, I found that the battery was not for an iPad Air 2! I had originally searched for iPad Air 2 Battery w/tools, and the first item to come up, the one i bought, was for "iPad Air", plus a bunch of other models. I incorrectly assumed that since I searched for Air 2, that both Air 1 and 2 used the same one. But they don't. So now I have two batteries. I emailed GoodFixer support directly, and sent them pictures of the two Amazon orders, and the new and old batteries, showing the incorrect position of the battery connection. It was then that I discovered the battery was for iPad Air 1, NOT 2. They told me to just order the correct battery from Amazon, and after installing, simply take a picture of the review I leave here, and they will refund me directly, for the last purchase on Amazon. Very nice, very helpful. Battery install went as expected, a little bit touchy making the battery connection, but I completed the task without damaging any iPad parts! :) A confusing story, but it all worked out well. Charged battery overnight, and it's doing fine. Was a pleasure dealing with both Amazon and Goodfixer customer support. Thanks again to both parties! I might update this review on the longer term health and performance of the new battery. But so far, so good. I would buy from Goodfixer again, the toolkit was more extensive than others I've gotten. Covered all the bases, they send everything they show in the picture online.
H**T
Battery Charge
Gonna give this a 3 star only because the battery is so sporadic. I works fine other than my daughter will be on her tablet for a few hours ( she autistic don’t judge) and it will still say it’s at 100% battery power then 20 min later it at 10%. Then sometimes it will be a normal power drain. So I anticipate this battery will probably tank soon
J**L
good replacement battery and good service
I think the product works well and after a few cycles it appears to have very good capacity. It will power the first gen ipad air with 70% brightness and medium volume for 12 hours continuously. I believe defects in manufacturing happen regularly and how I rate a product depends on how the company responds and how the corrected product works. The first battery I received had a defect. The contact electrode area was bent. I contacted them directly as their paperwork requests. They state they will respond by 14 hours, which I thought was a typo for 24 hours. But sure enough they responded by 11 hours and sent me a replacement. They promised within 5 days and it came in 2 days. Overall the process caused a bit of a delay but this was not an issue for me. So,, a good product and good service.
M**I
Very nice
Amazing item as described. Warning for everyone very hard to remove the battery and putting in coz its attached to the motherboard. Follow the instructions in youtube. I would give 4 stars but i rather give 5
TrustPilot
3 周前
1 周前