


🚀 Elevate Your 3D Printing Game!
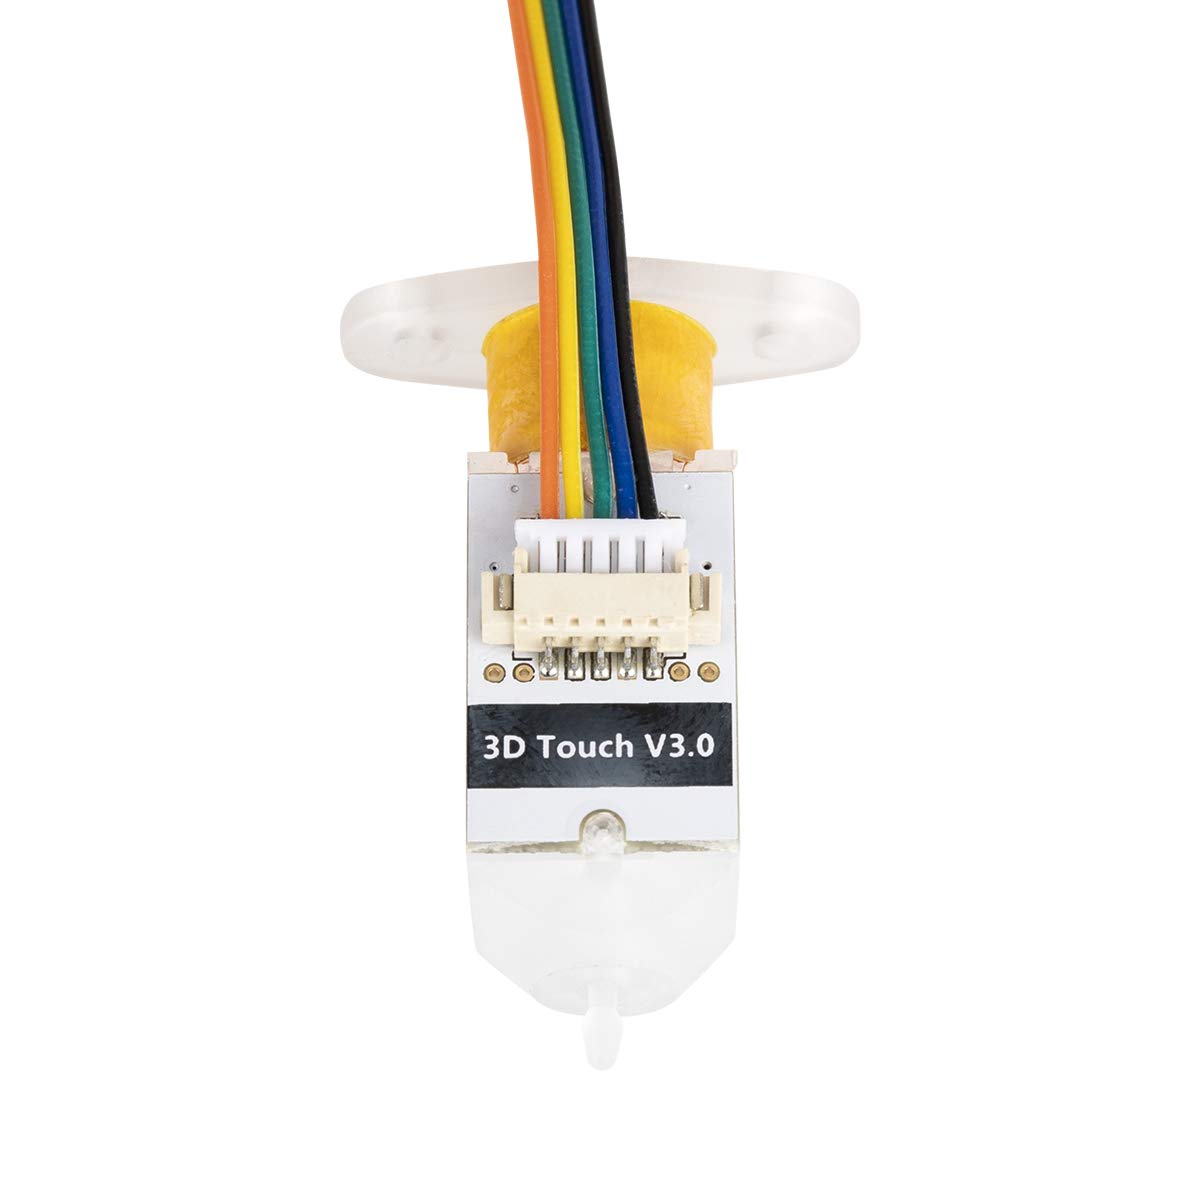
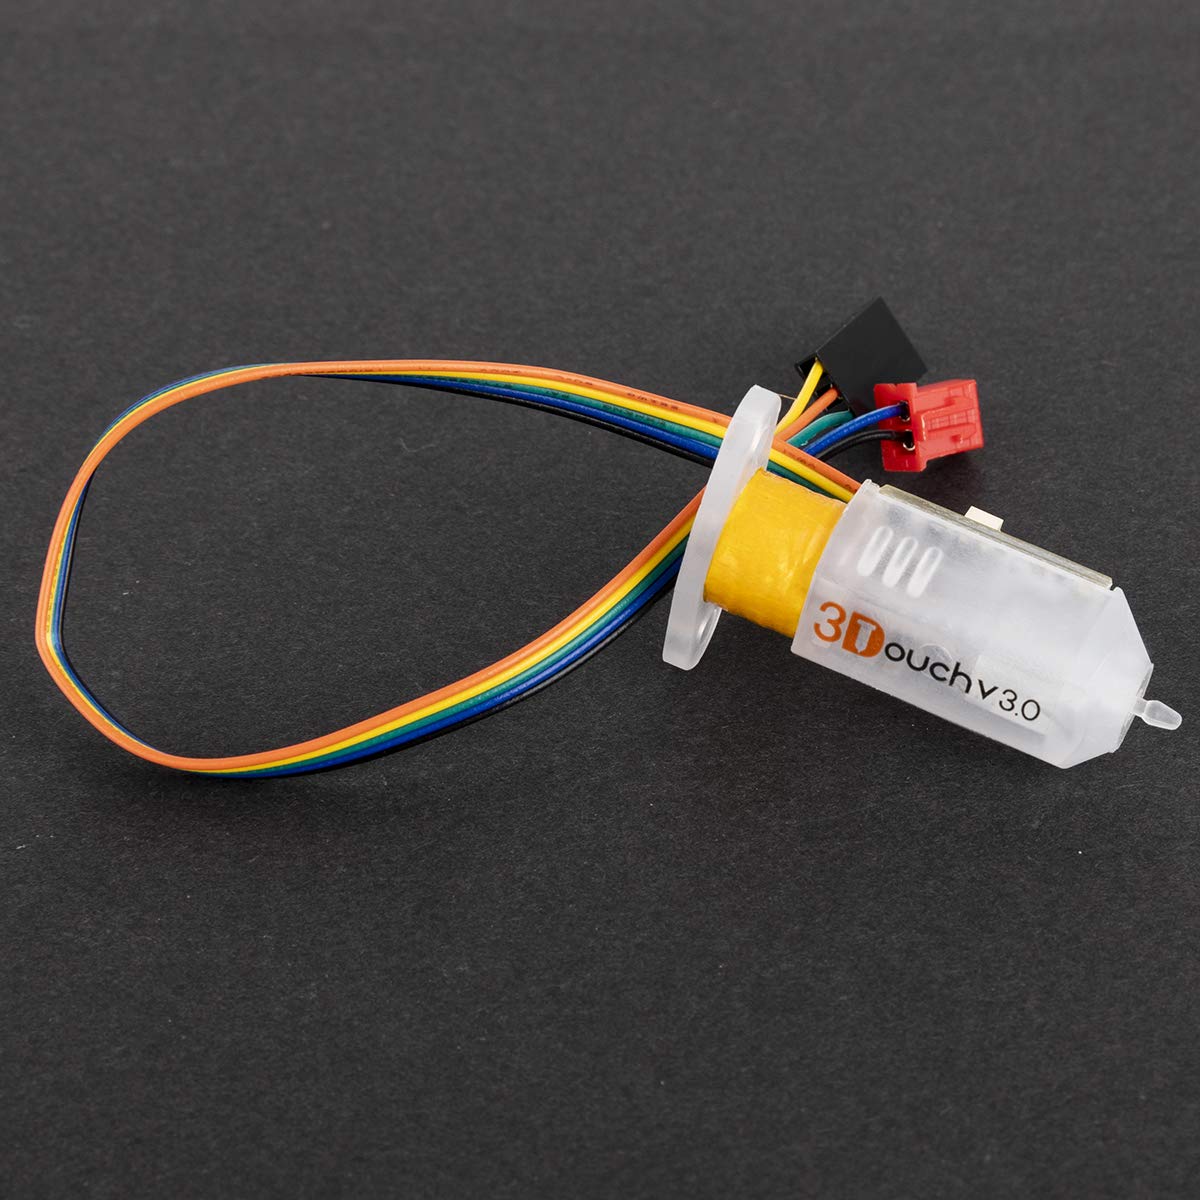
The Redrex Auto Bed Leveling Sensor 3D Touch Probe V3.0 is an essential upgrade for DIY 3D printing enthusiasts. Designed for compatibility with popular models like Ender 3 and CR 10 series, this sensor simplifies the leveling process, enhances print success rates, and features intelligent self-check capabilities for a seamless printing experience.
R**R
Upgrading a 3D Printer Never Goes as Planned. If you have problems please read.
I wont knock them for install procedures because nothing i have done on a 3D Printer ever goes as planned or is easy or goes like the direction say. For any BLTouch and its knock offs documentation is always lacking. However their little pamphlet is the best i have received yet and they get a 5 star for the wiring information and its warnings. They gave more effort than i have seen. So let me help you out with some basic trouble shooting that is not easy to find for the inexperienced. You can also refer to Antclads (The original producer that these are all clones of) for more documentation.Disclaimer: I am profession electrician and hobbyist coder. I am not this companies tech support. I am just trying to fill a common gap and problem i see across the board with all BLTouchs. This is just tips to give you some information you might have not otherwise known.-Lights:Deployed probe is blue.Stowed probe is red.-If you probe is blinking red at start up:-Adjust pin grub screw 180* deeper and cycle probe a few times with your finger. (fixed my first issue). Means it is failing it its start up test. The pin should cycle a few times. To clear: reset the probe on on your LCD. It will also blink red if the probe contacts something during test.-Always test endstops before the first auto home!!!!:To test: open a 3D printer interface app that can connect to your printer. I use Pronterface because its free and i am cheap. It is cross platform and i run Linux OS. So if you have windows it will work too.-Send M119 to the printer. -Stowed. Probe Red. Should read triggered. (if it doesnt reverse the polarity of the endstop pins) -Use LCD to Deploy probe. -Deployed. Probe blue. Should read open. -If you experienced backwards readings the invert the logic in your firmware. -if you deploy the probe and send M119 and it retracts. Possible bad probe.Once you pass the above test means our triggers are working and probe is working so far so good but we aint done yet.-Drop your bed 50mm (you will see why, just do it)-Auto home-Once Z axis starts to home actuate the pin with your finger. (Others wise you risk crashing into bed and cracking that nice glass or breaking something.) -If bed stops moving great!! your done. Now do your z offset. Refer to youtube and the guys who get paid for views on how to do. -If bed doesnt stop moving. Dont fret thats why i am still typing. -Go into your firmware. This is for Marlin 2.0.X. Go to Configuration_adv find the BLtouch extras. - uncomment #define BLTOUCH_DELAY 500 (you can go lower i think 300 is a happy medium) -uncomment #define BLTOUCH_FORCE_SW_MODENow compile and upload.Repeat autohoming steps above with your finger or risk your bed crashing (your pick) and it should work.if the bed stop as advertised when you actuate the pin with your finger. Redo the auto home with you finger on the power button encase it fails. if it all passes and works you are good to go.Closing comment: If you forget to uncomment #define ENABLE_LEVELING_AFTER_G28 in configuration.h. All is not lost. In your slicer post Gcode. After the G28 add M420 S1 (this enables the autobed leveling) then next line G29. Marlin disable autobedleveling after a G28 command and you have to re-enable it. Otherwise you printer will level the bed and not use the level information.
T**R
Need to work hard to figure it out
Would have rated it 5 stars had there been any information that was easy to use to get it installed on my 3D printer. Almost gave up which would have yielded 0 stars.. I have a Tevo Tarantula with an MKS Base V1.2 board- It was very difficult to figure out even with internet searches, I finally had to test it with an Arduino Uno- (Using the Servo tutorial ) to figure it out- once I understood how to make it work with the Uno, I then had to transfer that knowledge to my MKS board- finally found the right pins (D11 FWIW) to control it, I did have to rearrange the pins on the 3Pin connector to make it compatible with my control board- that wasn't too bad, and luckily there was some info on the web about others having to do that with the MKS boards. (no one had documented the V1.2 though) Then uploaded the Marlin 1.1.9 software and I finally got it to work. This isn't for the faint of heart, but once it was installed and working, it seems to work well. Not sure I'd have done any better with the BL touch either.
W**G
Worth the money, with a few minor issues
I set this up a little over a week ago and so far it's been working great. It's currently on an Ender 3 and hooked up to a BTT SKR Mini E3 V1.2 board. Installation was mostly easy, but made a little more complicated by the cable colors being different than the BLTouch (which tends to be what most of the videos and instructions on the internet use by default). Also, the cable was a little too short. I had extra dupont wires lying around, so I was able to extend it just enough to fit.You'll still need to make sure your bed is mostly leveled via the springs initially, but once that's taken care of, this device will help keep things a more zoned in. Teaching Tech also has a video on how to speed up the homing and leveling so now I have it set up to level the bed before every print. That adds about a minute or two to every print, but it's worth it to me.
C**E
Installation sucks!
I installed this on a Creality Ender 3 Pro. The instructions that were included in the packaging included a wiring diagram as well as firmware commands that need to be changed. I ordered kit 1, this does not come with a mount. DO NOT USE the wiring diagram from the packaging. You must use the board diagram pinouts from creality as well as the pinouts listed in the instructions included with this leveler. You will need tape to keep the extension together. The extension was not long enough to run with the extruder/fan cable management, but I was able to get the wiring to go where the original Z switch wiring was ran. You will need to secure the connections on the main board with hot glue as the connectors dont make a secure connection but this is the case with an official Creality BL touch as well.This thing has made 3D printing much easier right off the bat. I give 4 stars because installation was such a pain.
O**D
Good for the price so far
I enjoyed the ease of installation of the part on my printer and the fact that the probe pin is now plastic. But I am not satisfied with the wiring harness that is supplied with the probe! the wire colors do not match, what are on the probe and instead of having one end of the harness having male end and other end having female end it is female on both ends. Yes it has a adapter but when you add so many connections it can lead to high resistance at connectors causing poor readings of the probe making for bad printsI believe that if it wasn't for harness I would give it five stars. this needs to be changed then it would be an very good productChanged my review to 4 stars because of the willingness of seller to make things right, and if they make the changes we discussed it will be a full five stars!