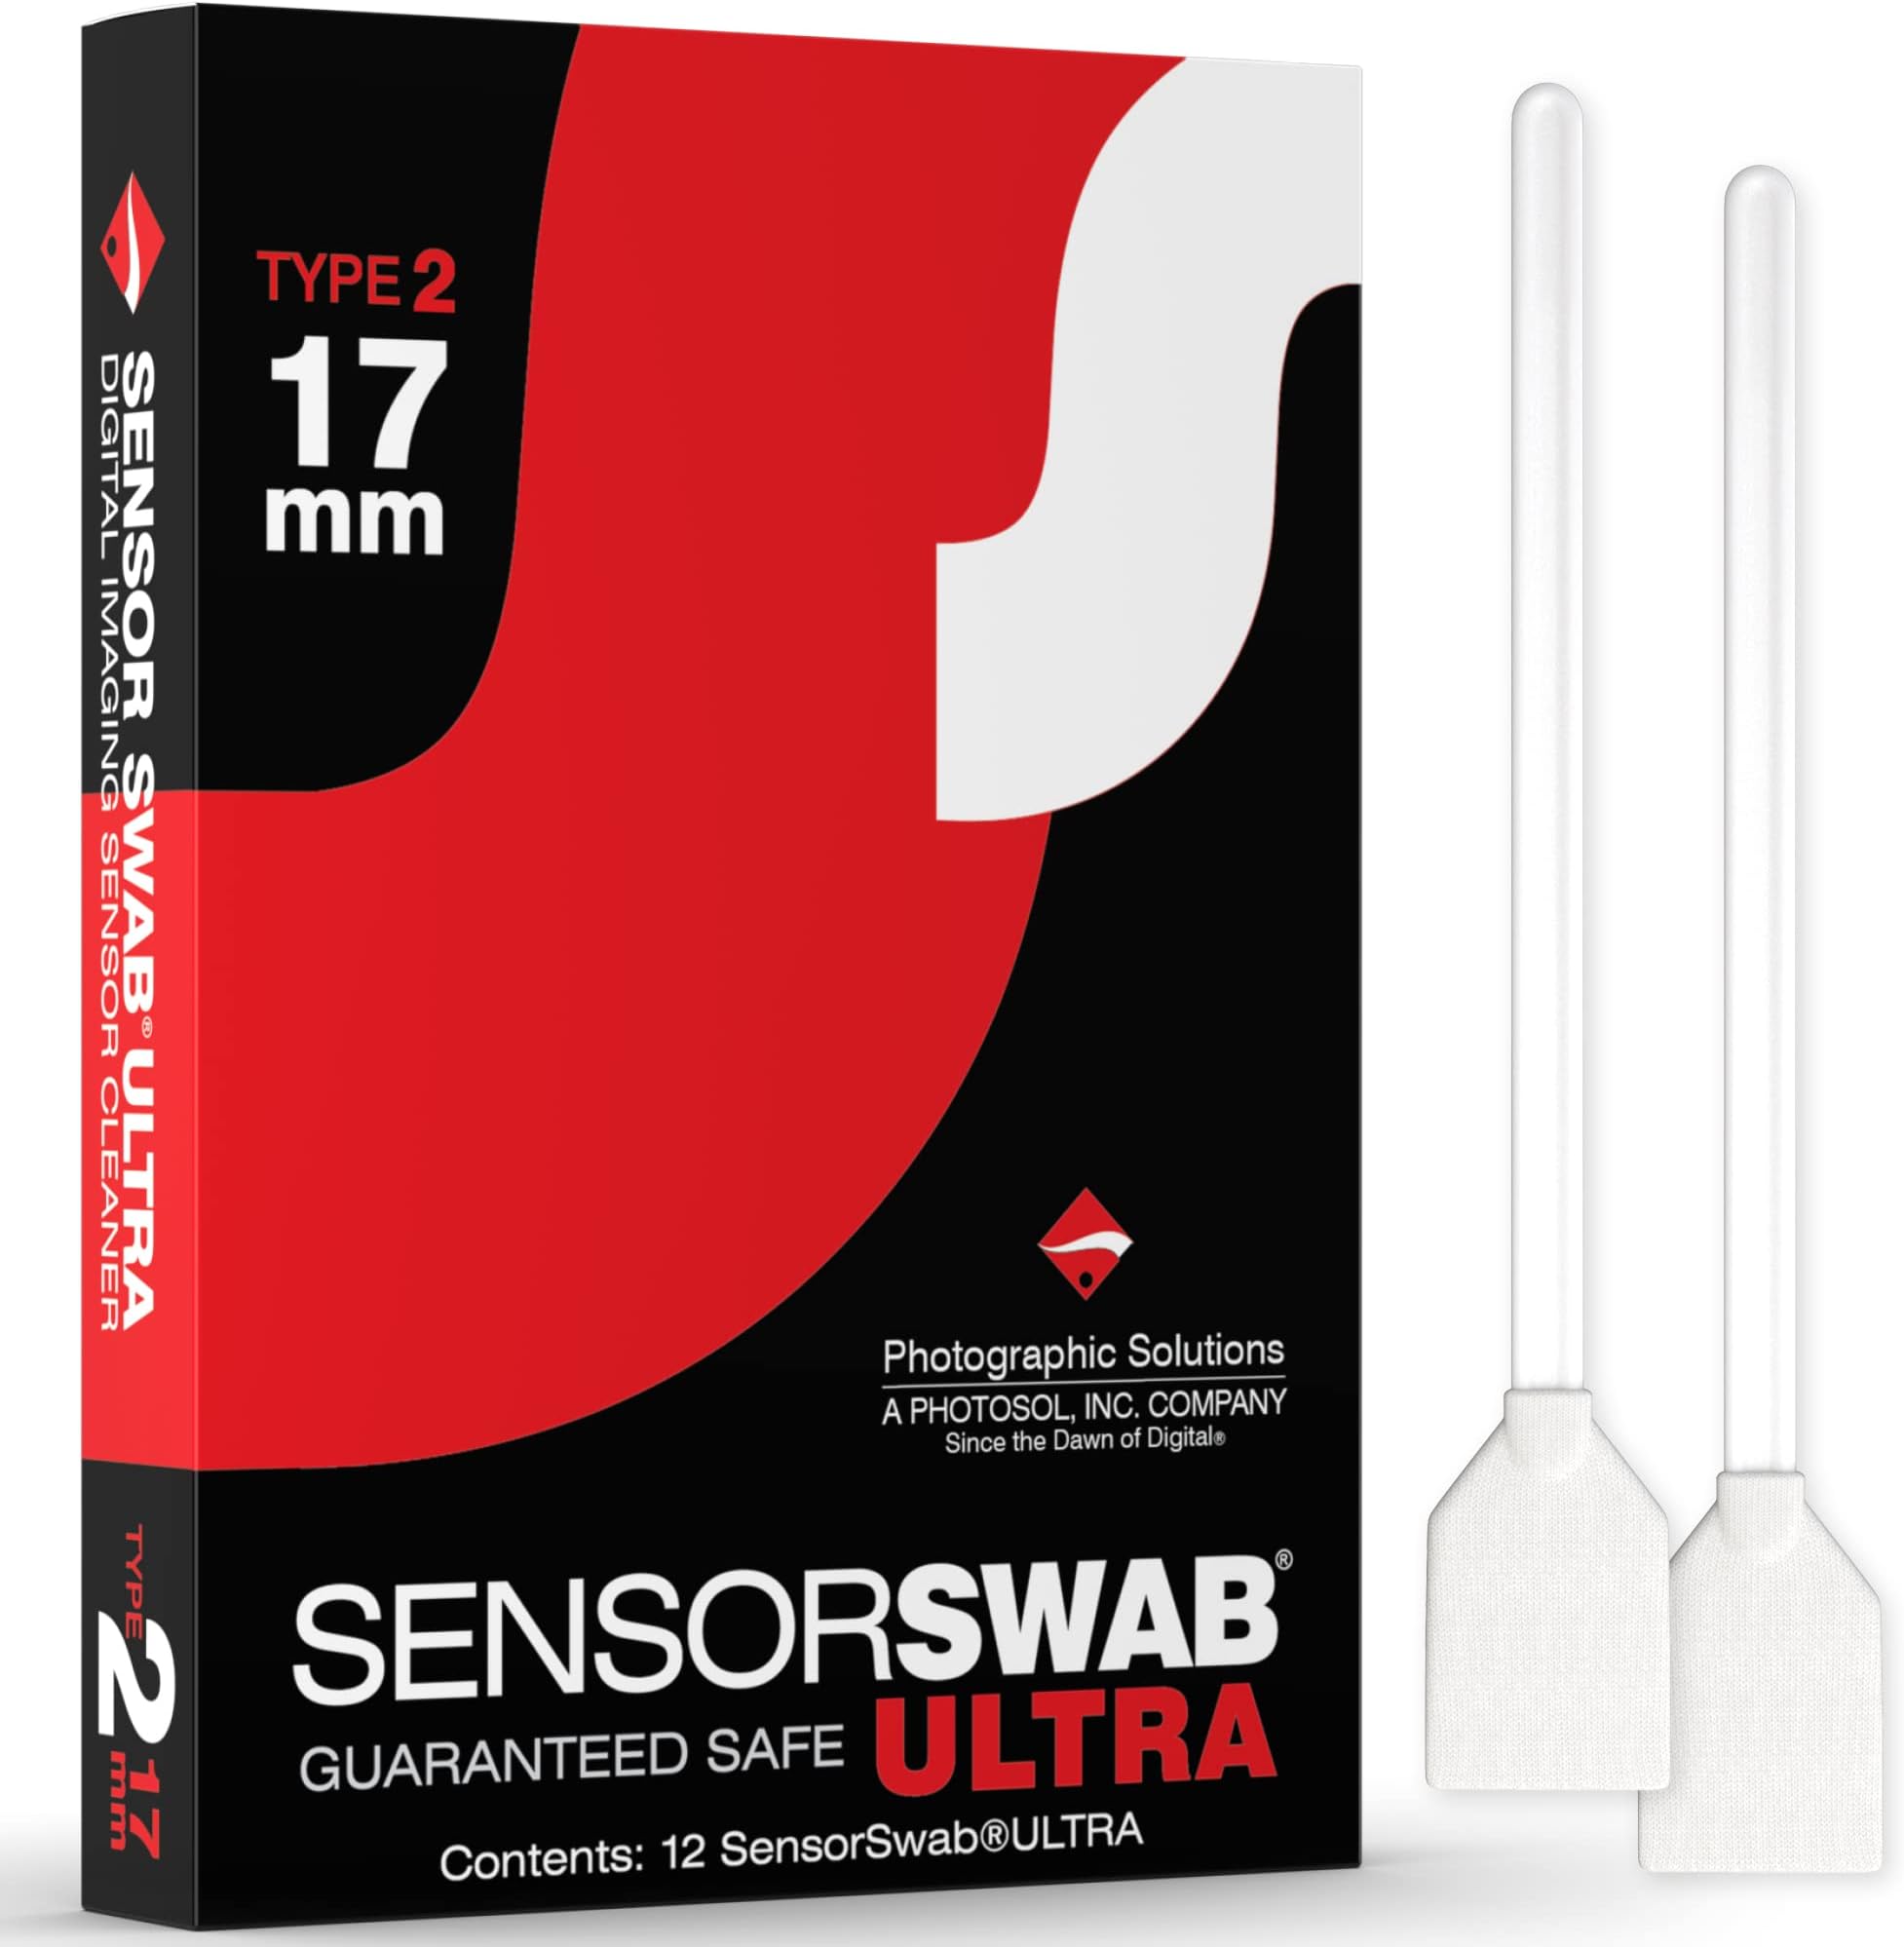


Sensor Swabs ULTRA 17mm Swabs - Camera Sensor Cleaner Swabs for Cleaning APS-C Mirrored or Mirrorless SLR & DSLR Cameras. Canon, Nikon, Sony - Sensor Dust & Oil Remover (Pack of 12)
Product ID: 57201285
Buy anything from 5,000+ international stores. One checkout price. No surprise fees. Join 2M+ shoppers on Desertcart.
Desertcart purchases this item on your behalf and handles shipping, customs, and support to SINGAPORE.
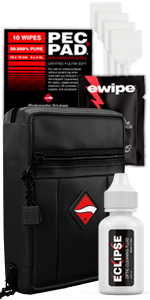
Product Description Sensor Swabs should be used with Eclipse. Sensor Swabs are designed for cleaning CCD/CMOS chips and other delicate or hard to reach optical and imaging surfaces. Clean room manufactured and sealed, these swabs are the ultimate in purity. Sensor swab is pre moistened with either Eclipse or E2 optical cleaning fluid. The Phographic Solutions Sensor Swabs type 2 are designed for use with the following cameras: <br/>Canon: EOS 50D, 10D, 20D, 30D, 40D, D30, D60, 7D, 300D, 350D, 500D, 550D, 600D, Rebel (original), 400D Rebel Xti, Rebel Xsi, 450D Xsi, 1000Xs<br/>Epson: R-D1<br/>Fujifilm: Finepix S5 Pro, X-Pro1<br/>Konica Minolta: All models<br/>Nikon: D200, D300, D300s, D7000, and all others except D3, D3X, D3S, D700, D4, D800, D600 which should be used Sensor Swabs Type 3<br/>Olympus: All models<br/>Panasonic: Lumix DMC-L10, GH2<br/>Pentax: All models<br/>Sigma: SD14<br/>Sony: NEX,A77, and all others except A900, A850,A99 which should be used with Sensor Swabs Type 3 Box Contains Photographic Solutions Sensor Swabs Type 2 (12pk) x 1


| ASIN | B000F6VRJC |
| Brand | Photographic Solutions |
| Built-In Media | 12 Sensor Swab ULTRA 17mm |
| Customer Reviews | 4.0 out of 5 stars 151 Reviews |
| Global Trade Identification Number | 00646057114644 |
| Item Weight | 0.01 Ounces |
| Manufacturer | Photographic Solutions |
| Manufacturer Part Number | US2BOX |
| Model Name | Type-2 |
| Model Number | SS-120 |
| Number of Items | 1 |
| UPC | 795122130215 646057114644 |
| Warranty Description | Photographic Solutions products are backed by a 100% satisfaction guarantee. |
P**O
Frustrating But I Got There in the End!
Camera CCD Cleaned: Canon 400DEquipment used: Sensor Swab #2, Giottos Rocket Air puffer, Eclipse Optic Cleaning Fluid.Camera CCD had about 4 blotches on sensor (each about 50 pixels diameter), no dust.My first attempt, following the exact swab instructions, were a disaster. The process actually tripled the number of blotches visible. On inspection I could see the reason was that the swab width was about 1mm too wide. The swab had not actually touched the sensor but had wiped the holding frame around it and had therefore desposited contaminated cleaning fluid onto the sensor.From then I reduced the swab width by about 1/2mm on each side using sharp clean scissors. The cuts had to be done in one firm go since the swab would eject fine filaments of material on delicate cutting.The next few goes did reduce the number of blotches and I found that just a dab of cleaning fluid was best; that is less than half a drop, anymore would leave a trail of blotches particularly at sensor edges and corners. I found these parts of the sensor particularly difficult to clean and all my subsequent blotches appeared in those areas.I found that I could not apply an even wipe across the sensor surface because of lack of space. I could only manage about halfway across by this method. Also I am a little concerned that the instructions state to wipe back across the sensor in the opposite direction since any dirt you have wiped to the sensor edge will then be dragged back over the surface. So I wiped in the same direction but turned the swab over.Finally after 15 attempts I managed to get the sensor clean enough. I would recommend that you:1. Ensure the swab is not too big before you start2. Use less than one drop of cleaning fluid by a quick dab of the swab3. Be aware you may drag old dirt back over your sensor by wiping back in the opposite direction.I looked for dust and blotches by photographing a sky-blue wooden door panel, close up, with the camera pre-focussed manually at a distant object. I took several shots and moved the camera about a little to smooth up the background.To look at the images I wrote software to take the average of all the shots in LARGE JPEG format and then used the EQUALIZE function under Histogram Functions in PaintShop Pro. This software will also do averages but only two shots at a time. The EQUALIZE function is rather a harsh test because it will show up very sensor blemish but you have to live with some. TIN a landscape shot those blotches in the bottom of the frame are probably less likely to be seen than those at the top in blue sky!In the end, although frustrating, I did mange to clean my sensor.
C**O
Works exactly as advertised
I used this to clean my 2-year old Nikon D200. I hadn't needed to clean it before, or my D70 because I only had one lens with that, but I change lenses on the D200 quite often and, some of them being zooms, it was inevitable that some dust would get sucked in.First try: blower. Don't bother. Great for external lens surfaces etc, but all this did was move dust around on the sensor.Butterfly brush: Save your money. I did, by borrowing a friend's, but all it did was move the dust around on the sensor.Sensor Swab + E2: (the D200 has a tin-coated sensor. Although what you're actually cleaning is the low-pass filter in front of the sensor). Used as per the instructions, three goes (with three swabs) gave me a sparkling clean image again. Job done, and highly recommended.Tips: I have an MB-D200 battery grip so I used that with two fully charged batteries in it so there was no chance of the shutter closing through lack of battery power. It also added some mass and therefore stability to the camera body while cleaning it. I also mounted the camera on my tripod, angled down, and lit the interior from beneath with a desk lamp so I could see what I was doing, and no dust would drop in. You could also earth the tripod to a waterpipe if you wanted to (I didn't). I didn't need a sensor loupe, all that meant was a trip outside after each clean to check if it'd worked. I took two pictures with my sharpest lens (Nikkor 50/1.8) at f22, f16, f11, f8, f5.6 and f1.8 of clear blue sky, manual focus set to infinity for each cleaning pass, and reviewed them on my PC before each next step. All clear after the third swab at all apertures. Even though I don't usually stop down as far as f22 (to limit diffraction) it was nice to be reassured that the sensor was fully clean. I made two passes one afternoon and the third the following morning - after two it was acceptable at f11 or wider, after three cleans, perfect all the way down to f22. For the price of a factory clean I have the satisfaction of doing the job myself, plus swabs and E2 left over should I need for another 3-9 cleans, and no two-week wait to get my camera back. Very, very happy.
Trustpilot
2 weeks ago
2 weeks ago