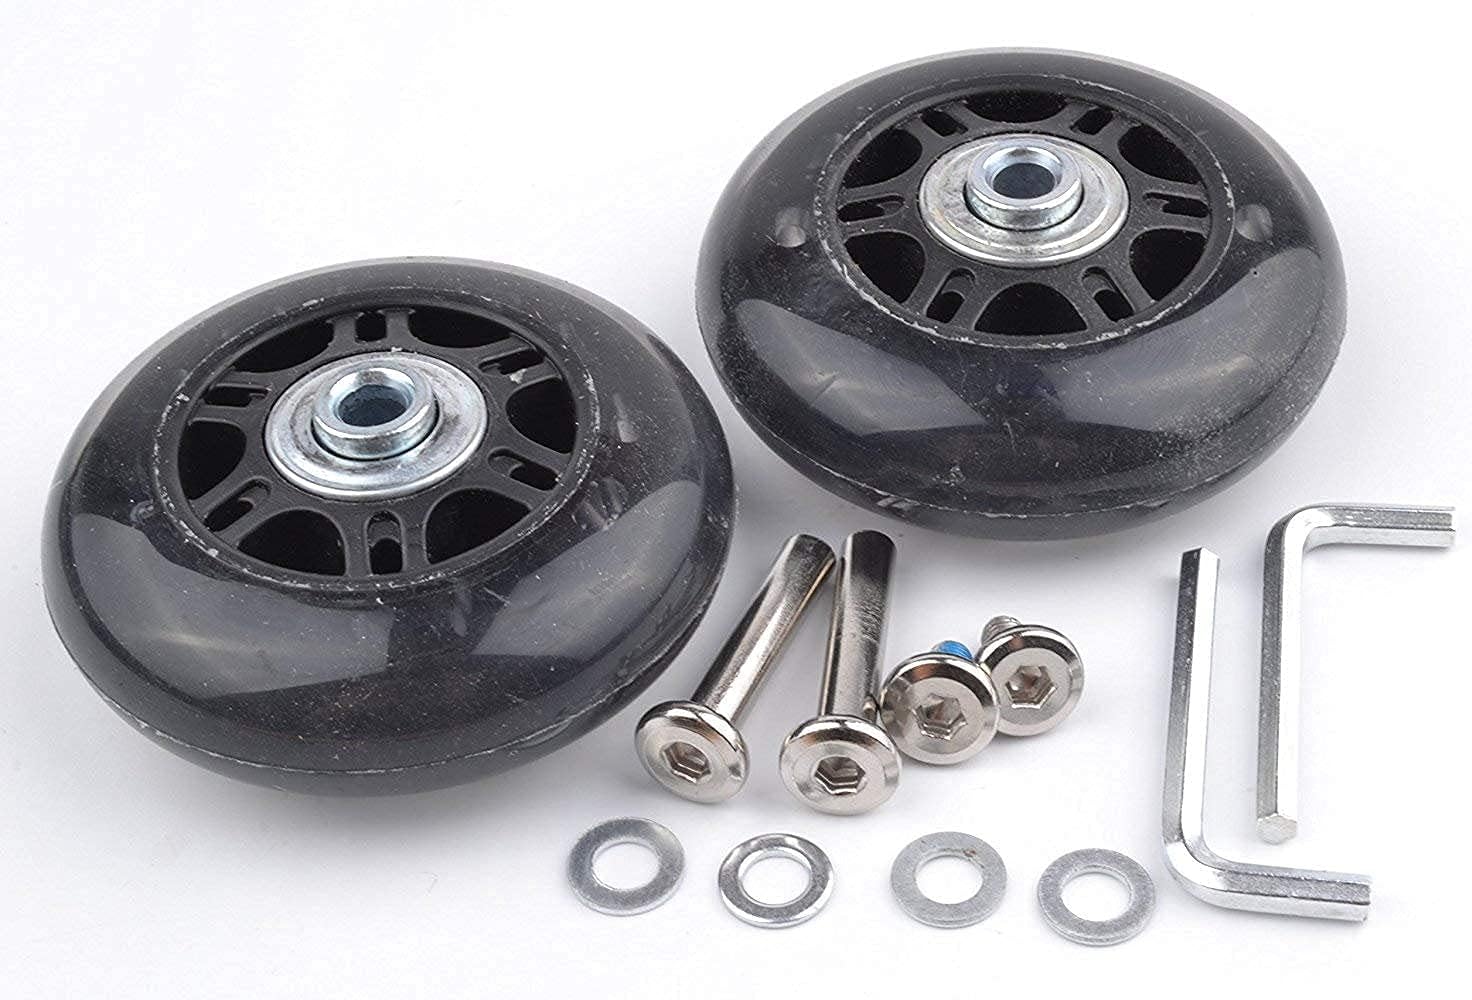
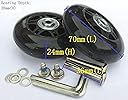
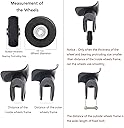
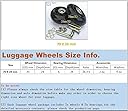
My 2005 LT22 and LT24 wheel replacement went really well. The original LT22 wheel was 70mm x 24mm and the internal diameter for the bearing was 6mm. The LT24 wheel was 75mm x 24mm and the bearing was the same. I called the vendor, and while the wheels ARE under warranty, they do not have exact replacement parts. The retrofit wheels they are sending are 68mm for both bags. I don't think that's a problem for the LT22 but for the LT24 it would make the bag lean backwards and probably want to tip over. So, I just went ahead and ordered new wheels from Amazon. I used Davias Luggage Suitcase Wheels Replacement Repair kit 1 Pair, Black on the LT22 https://www.amazon.com/gp/product/B074J1CB1T/ref=ppx_yo_dt_b_asin_title_o01_s00?ie=UTF8&psc=1 and OwnMy 75 x 24mm Luggage Suitcase Replacement Wheels, Rubber Swivel Caster Wheels Bearings Repair Kits, Set of 2 on the LT24 https://www.amazon.com/gp/product/B07Z39F3Q7/ref=ppx_yo_dt_b_asin_title_o00_s00?ie=UTF8&psc=1 I was going to upgrade the wheel bearings to 8mm internal diameter Bones Reds Bearings 8 pk w/Spacers & Washers Bundle: https://www.amazon.com/Bones-Bearings-Reds-Spacers-Washers/dp/B0798WGCB1/ref=sr_1_1_sspa?crid=3HD6PGGCY39RO&keywords=reds+skateboard+bearings&qid=1698119713&refinements=p_72%3A1248958011&rnid=1248955011&s=sporting-goods&sprefix=REDS+SKATE%2Caps%2C140&sr=1-1-spons&sp_csd=d2lkZ2V0TmFtZT1zcF9hdGY&psc=1 as I have on 2 of my other rollaboards, but in my case I would have needed to reduce the 8mm ID bearing to 6mm ID by using 8mm to 6mm adapters: Fireball Dragon 6mm Bearing Spacer Set for 608 Bearings - Use 8mm Bearings on 6mm axles- Inline Skate Shaft for Inline Rollerblade & Roller Skates - 8-Pack Aluminum Speed Spacer Inline Skate Axle https://www.amazon.com/Fireball-Dragon-Bearing-Spacer-Bearings/dp/B0B3541K88/ref=sr_1_4?crid=CYC6EWISDOTO&keywords=8mm+to+6mm+skate+wheel+bearing+adapter&qid=1698119514&sprefix=8mm+to+6mm+skate+wheel+bearing+adapter%2Caps%2C94&sr=8-4 Doing this you need some washers as spacers on both sides of the BONES bearings to eliminate any slack in the wheel housing, about 2mm on each side. But my back started giving out so I cleaned the original bearings, applied some garage door lubricant, and they are good as new. Converting the rivets with machine screws: Usually you find pop rivets on really cheap luggage and I was very disappointed when I noticed that the Eagle Creek bags were pop riveted all over the place. I bought these bags for my wife in 2005 and I never used them and didn't notice this until about a year later in 2006. Had I paid attention I would have NEVER bought these bags in the first place. Anyway, converting the wheel housing pop rivets to screws will make future wheel maintenance a breeze and only takes a few minutes to drill out the rivets and convert them instructions below. You need to remove the wheel housings on these bags in order to get to the wheel and axle. My wheel housings were riveted onto the bags with 3 rivets on each housing: 2 rivets on the bottom of the bag and 1 rivet on the side of each wheel housing... and the housing is also held in place by 2 philips head screws on each wheel housing on the inside of the bag. I drilled the rivets out from the inside of the bag. I found that a 15/64" bit was all that was needed to release the rivet. I used a thin punch to punch out the rivet from the bag. I saved the washers from the rivets for use on the reassembly but didn't use them. Drilling the rivets creates a lot of metal flakes, so it's good to have a vacuum handy to clean the bag and wheel housings out as you drill out the rivets. Drilling out the rivets was very easy as they are a soft metal. Reversing the process, I inserted the new wheels and axle back into the wheel housing and replaced the rivets with Chicago Binding Post Screws https://www.amazon.com/gp/product/B09TT3TNPP/ref=ppx_yo_dt_b_asin_title_o00_s01?ie=UTF8&th=1 as described by Music Man GM.: https://www.amazon.com/product-reviews/B074J1CB1T/ref=cm_cr_arp_d_viewopt_kywd?ie=UTF8&filterByStar=five_star&reviewerType=all_reviews&sortBy=recent&pageNumber=1&filterByKeyword=binding+post#reviews-filter-bar I couldn't find the binding posts with phillips heads on both ends, and installing these is a pain in the rear, but they look great and are flat on both sides. I only needed the smallest 1/4" 6mm post size. Then I reinserted the 2 phillips head screws that hold the wheel housing in place. 18 years from now, when I go to replace the wheels next time, I'll just have the 5 screws to remove on each housing. PRO TIP #1: Local luggage shop wanted $65 per bag or $130 for the LT22 and LT24. I spent around $20 on wheels and another $10 on high quality stainless steel nuts/bolts/washers to replace the crummy rivets holding the wheel housing. so I saved around $100. Plus they are backed up 3 weeks on repairs, and I need the bags for some upcoming travel in a couple weeks. I could have saved some $ by pop riveting the housings back on like the original, but then you are back to drilling them out if you need to replace a wheel or clean / replace a bearing. PRO TIP #2: I carry a spare set of these wheels and the tool needed to replace them stuffed in my rollaboads. It's a nightmare to have wheels go bad when you are on a trip. PRO TIP #3: Preflight Checklist - I check all wheels, zippers, handles, screws, nuts, bolts, etc. before each trip to make sure nothing is loose or missing.