
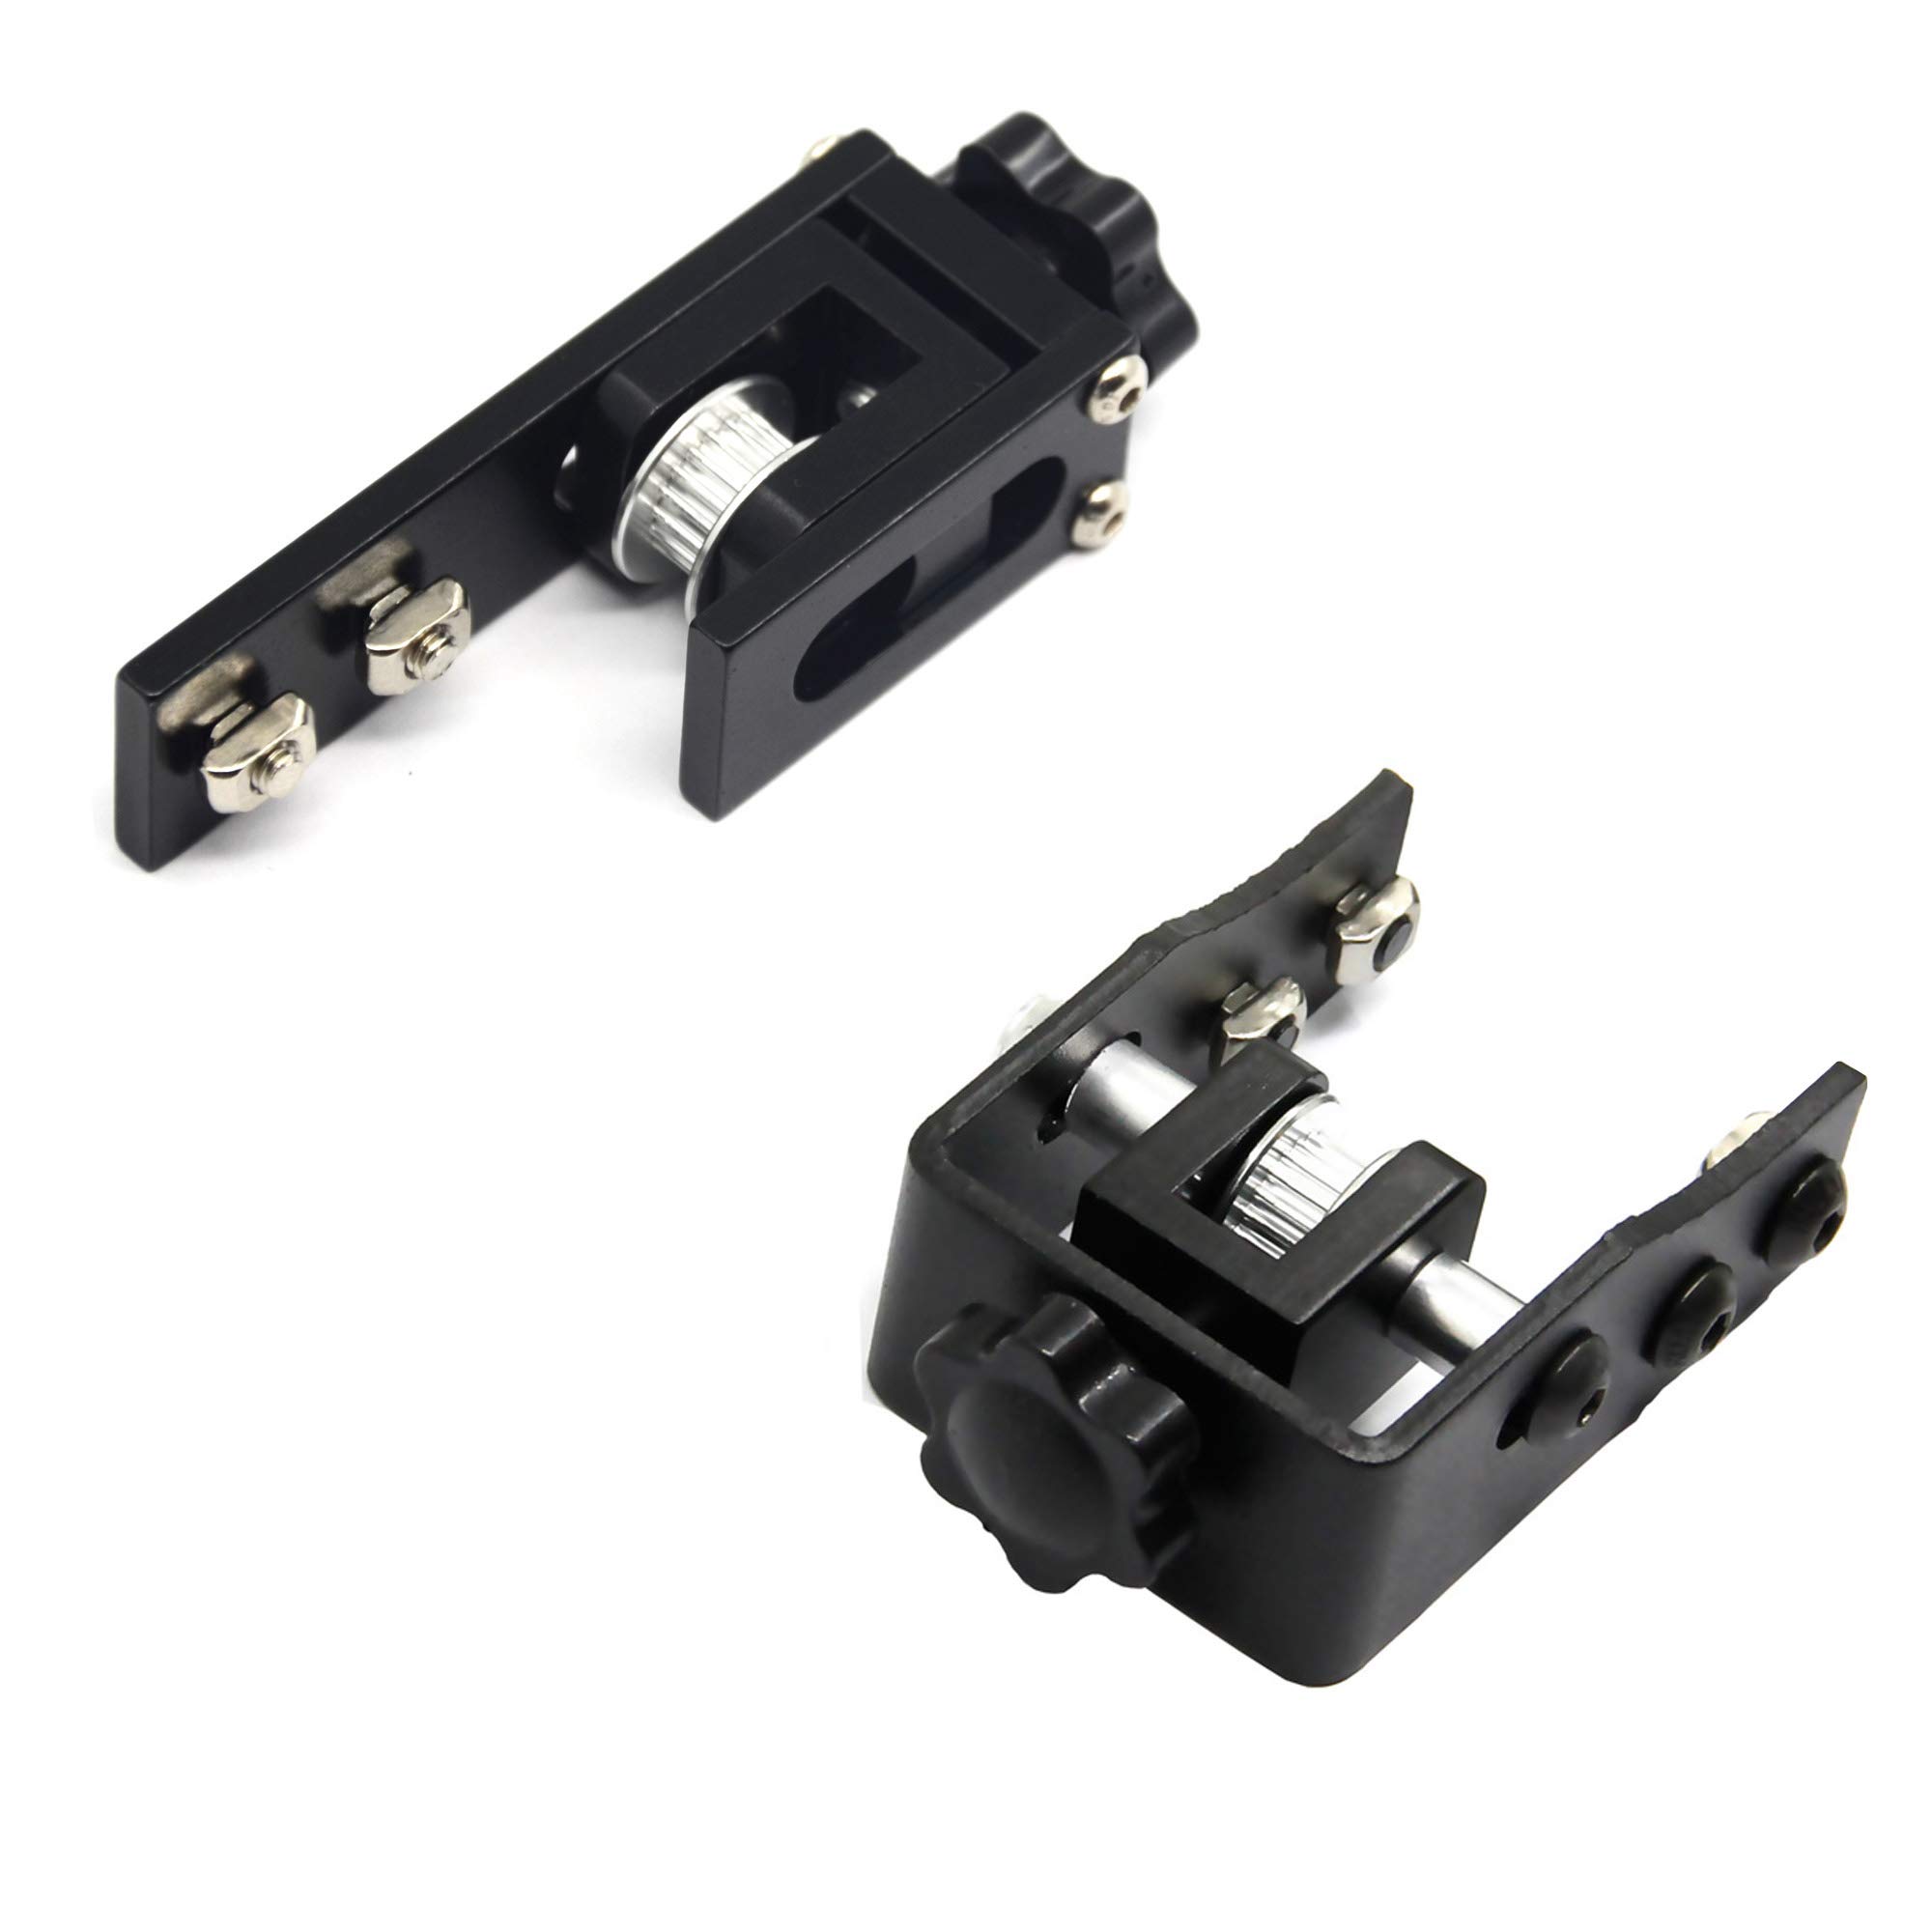
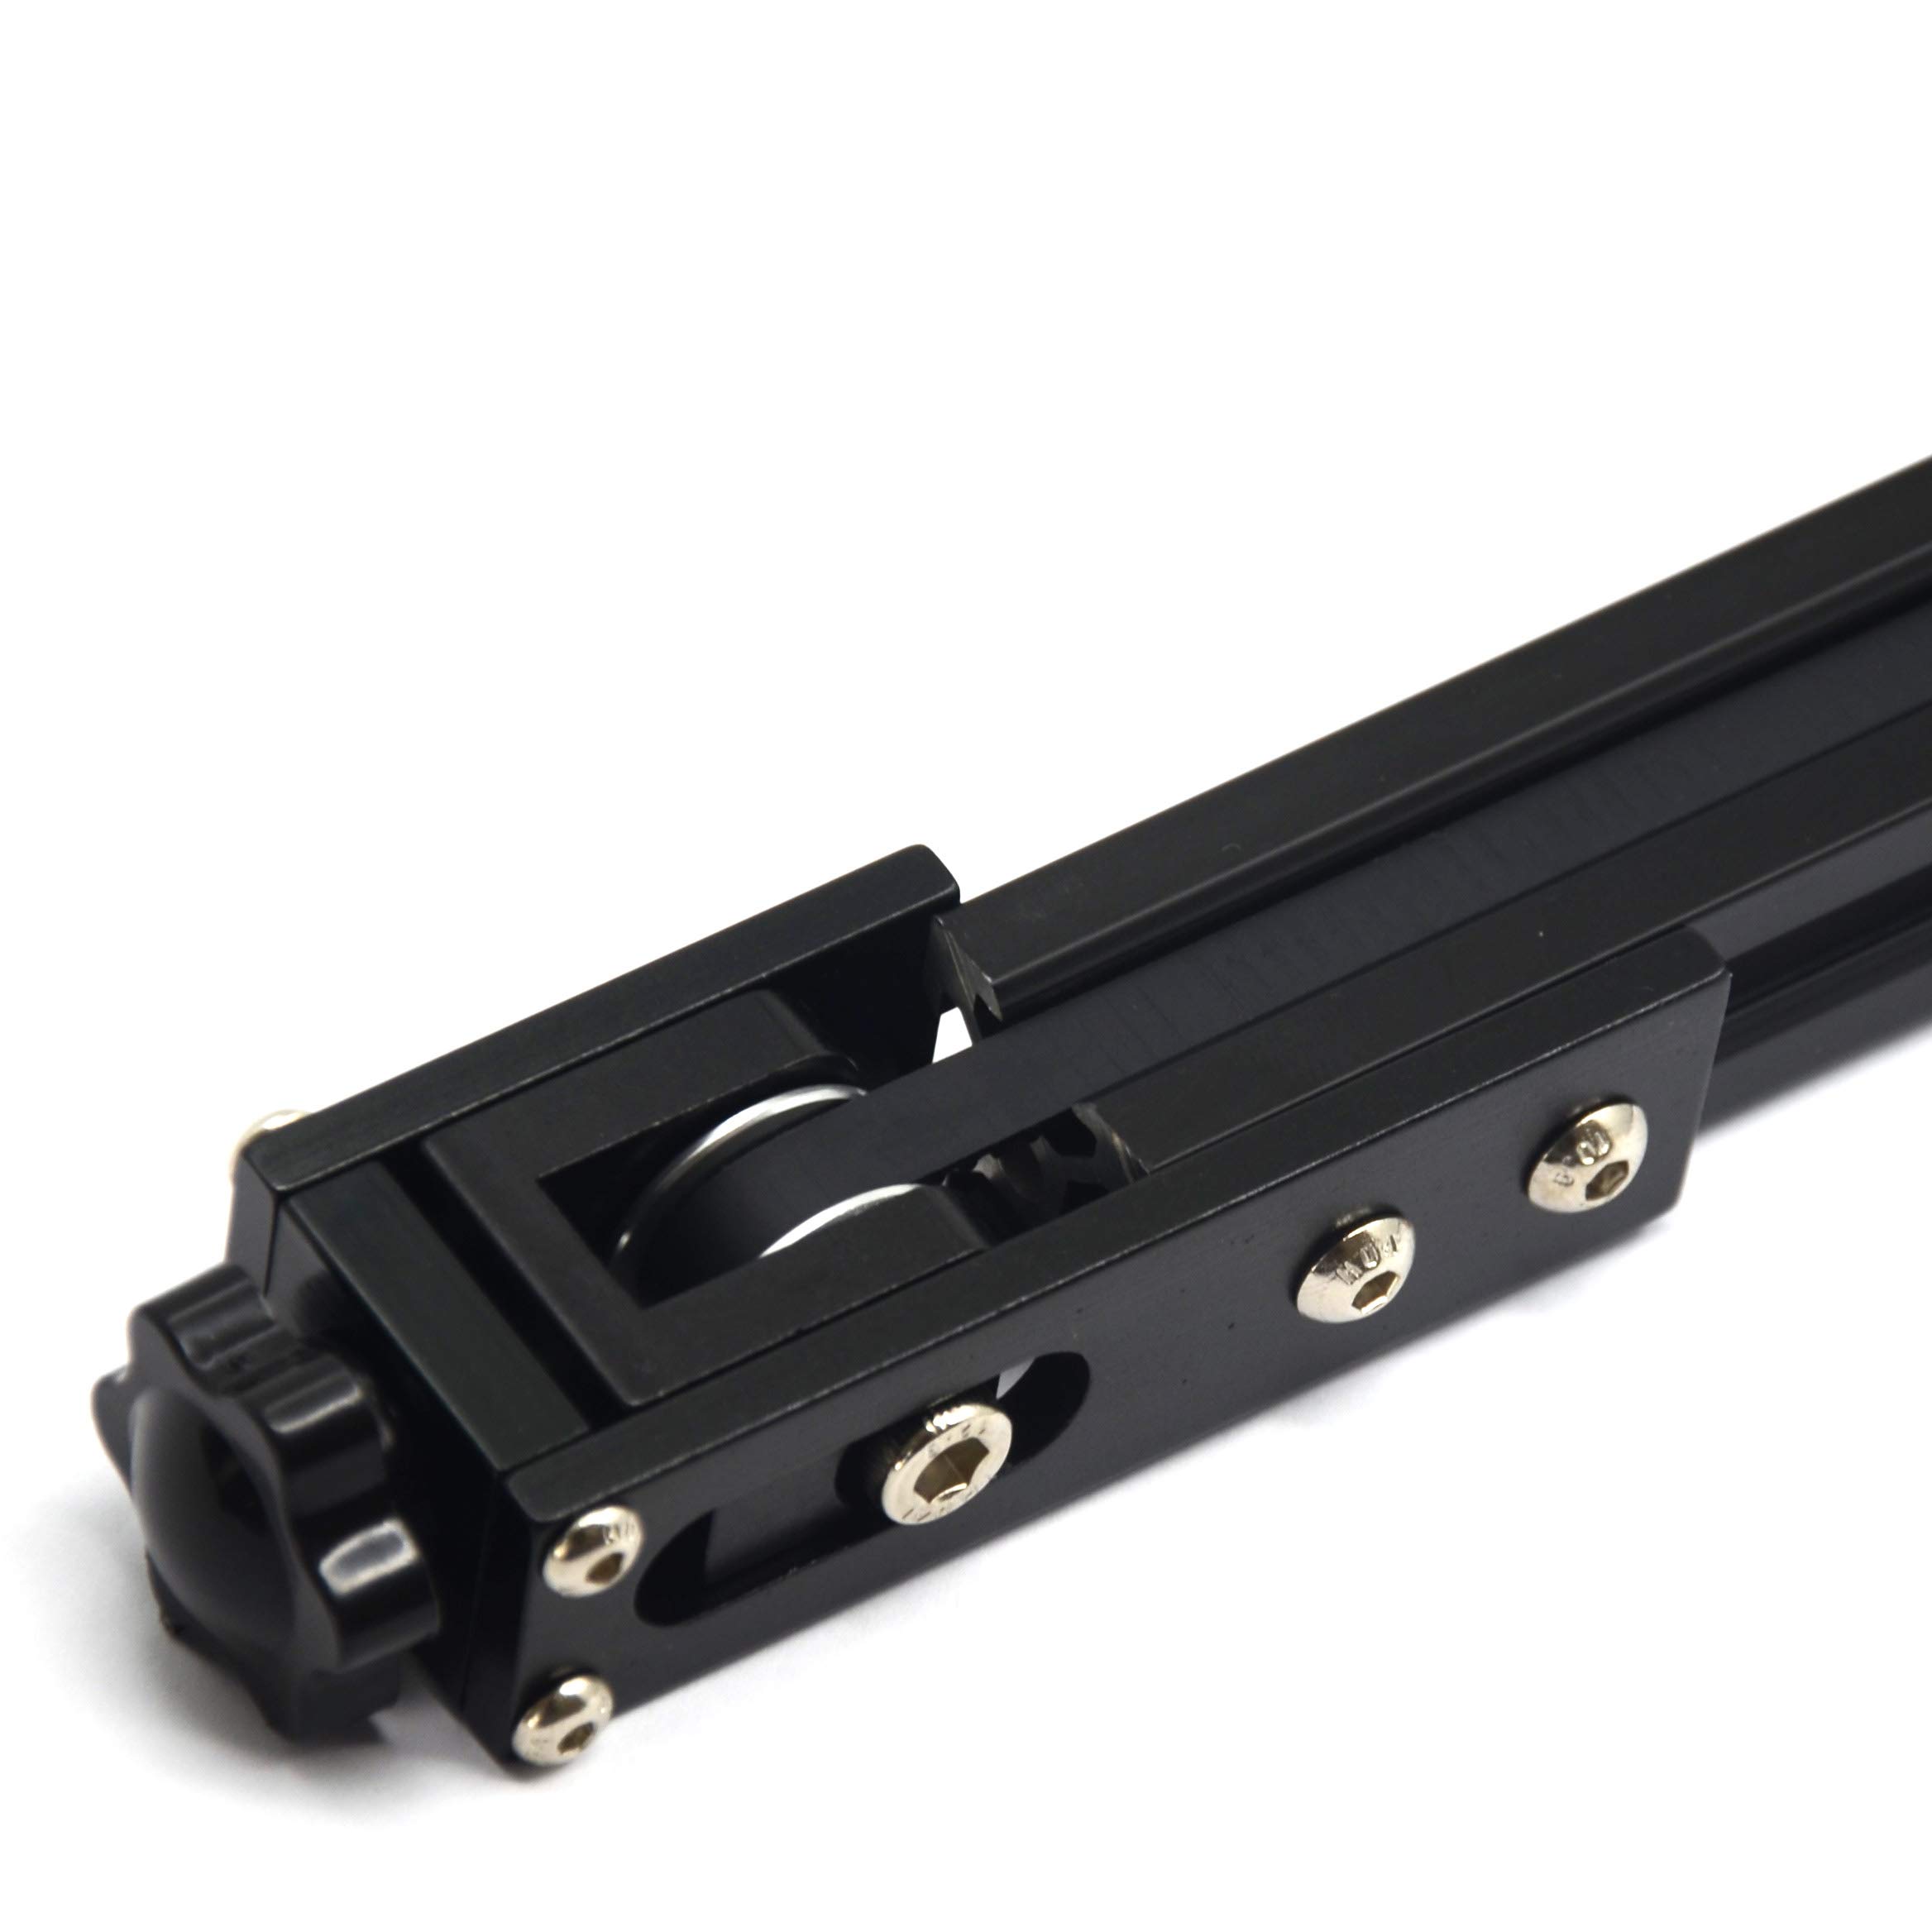
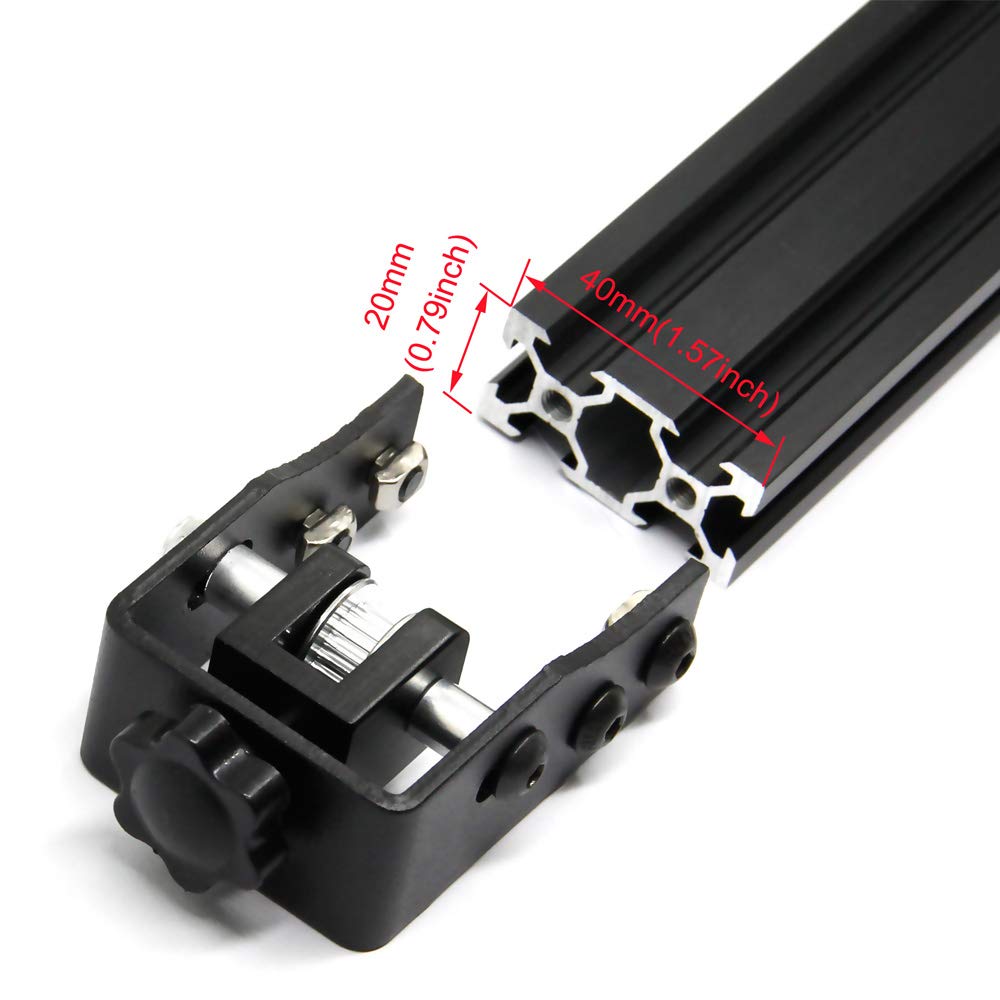
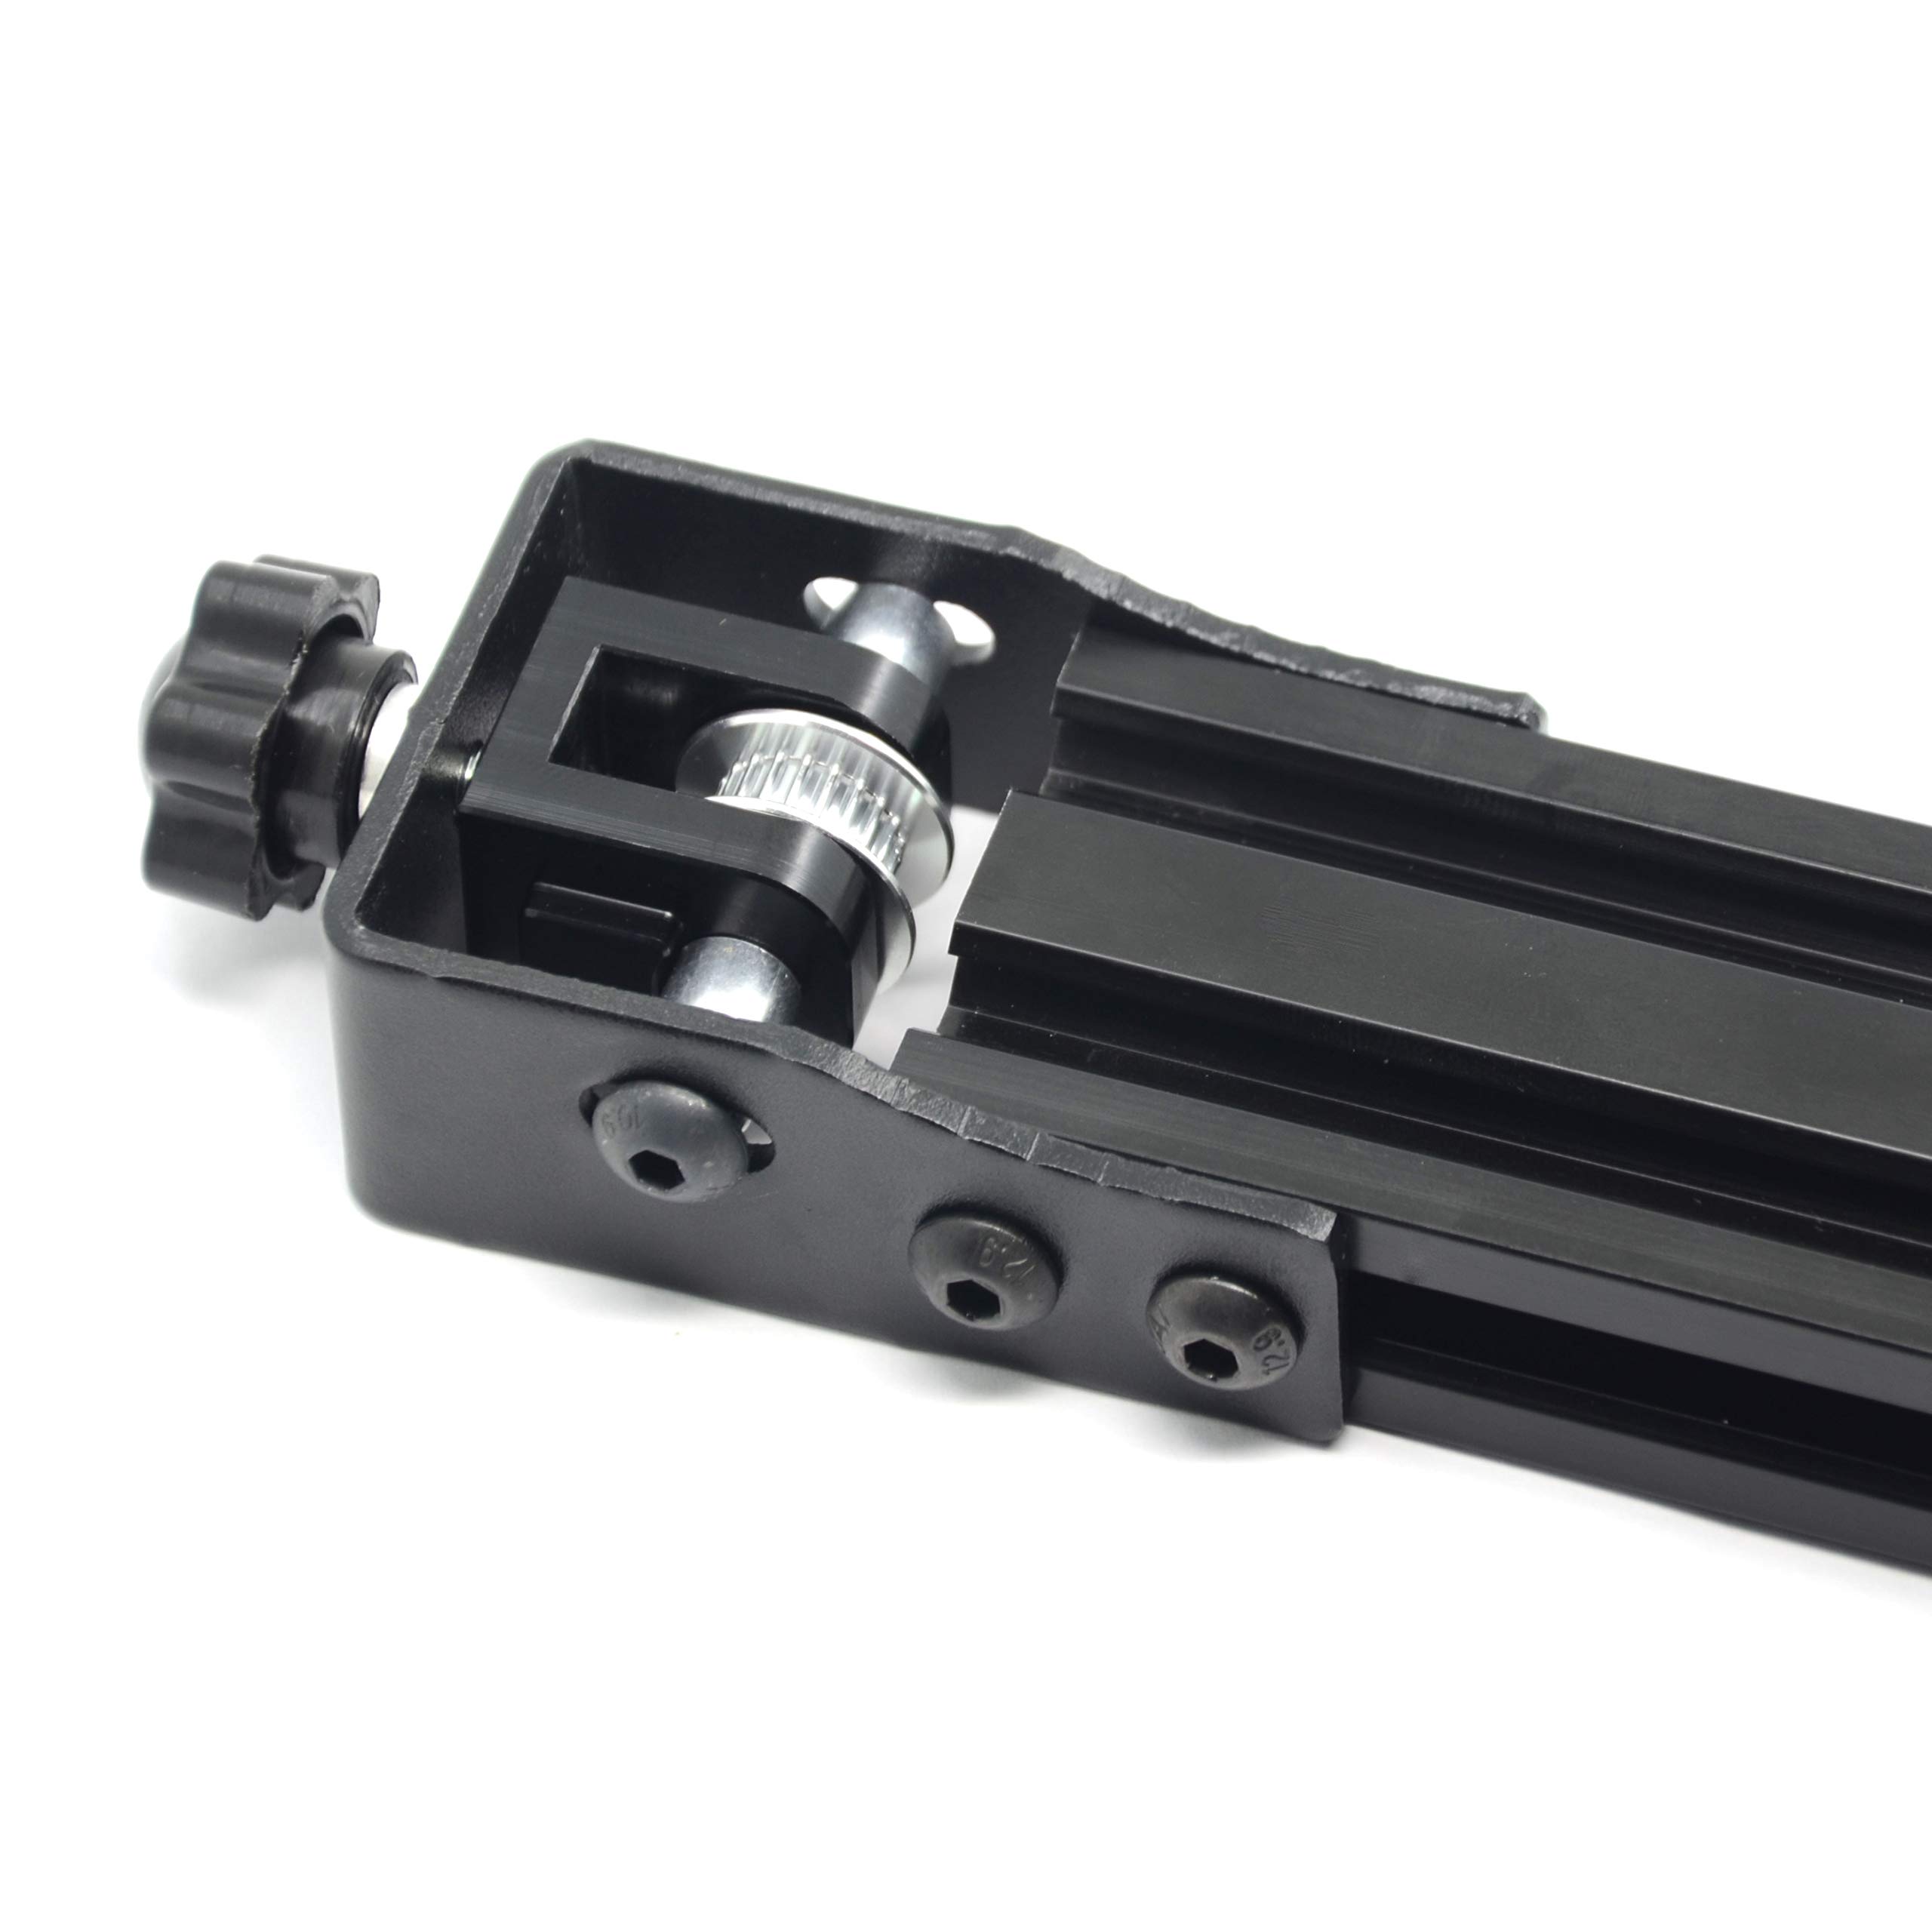
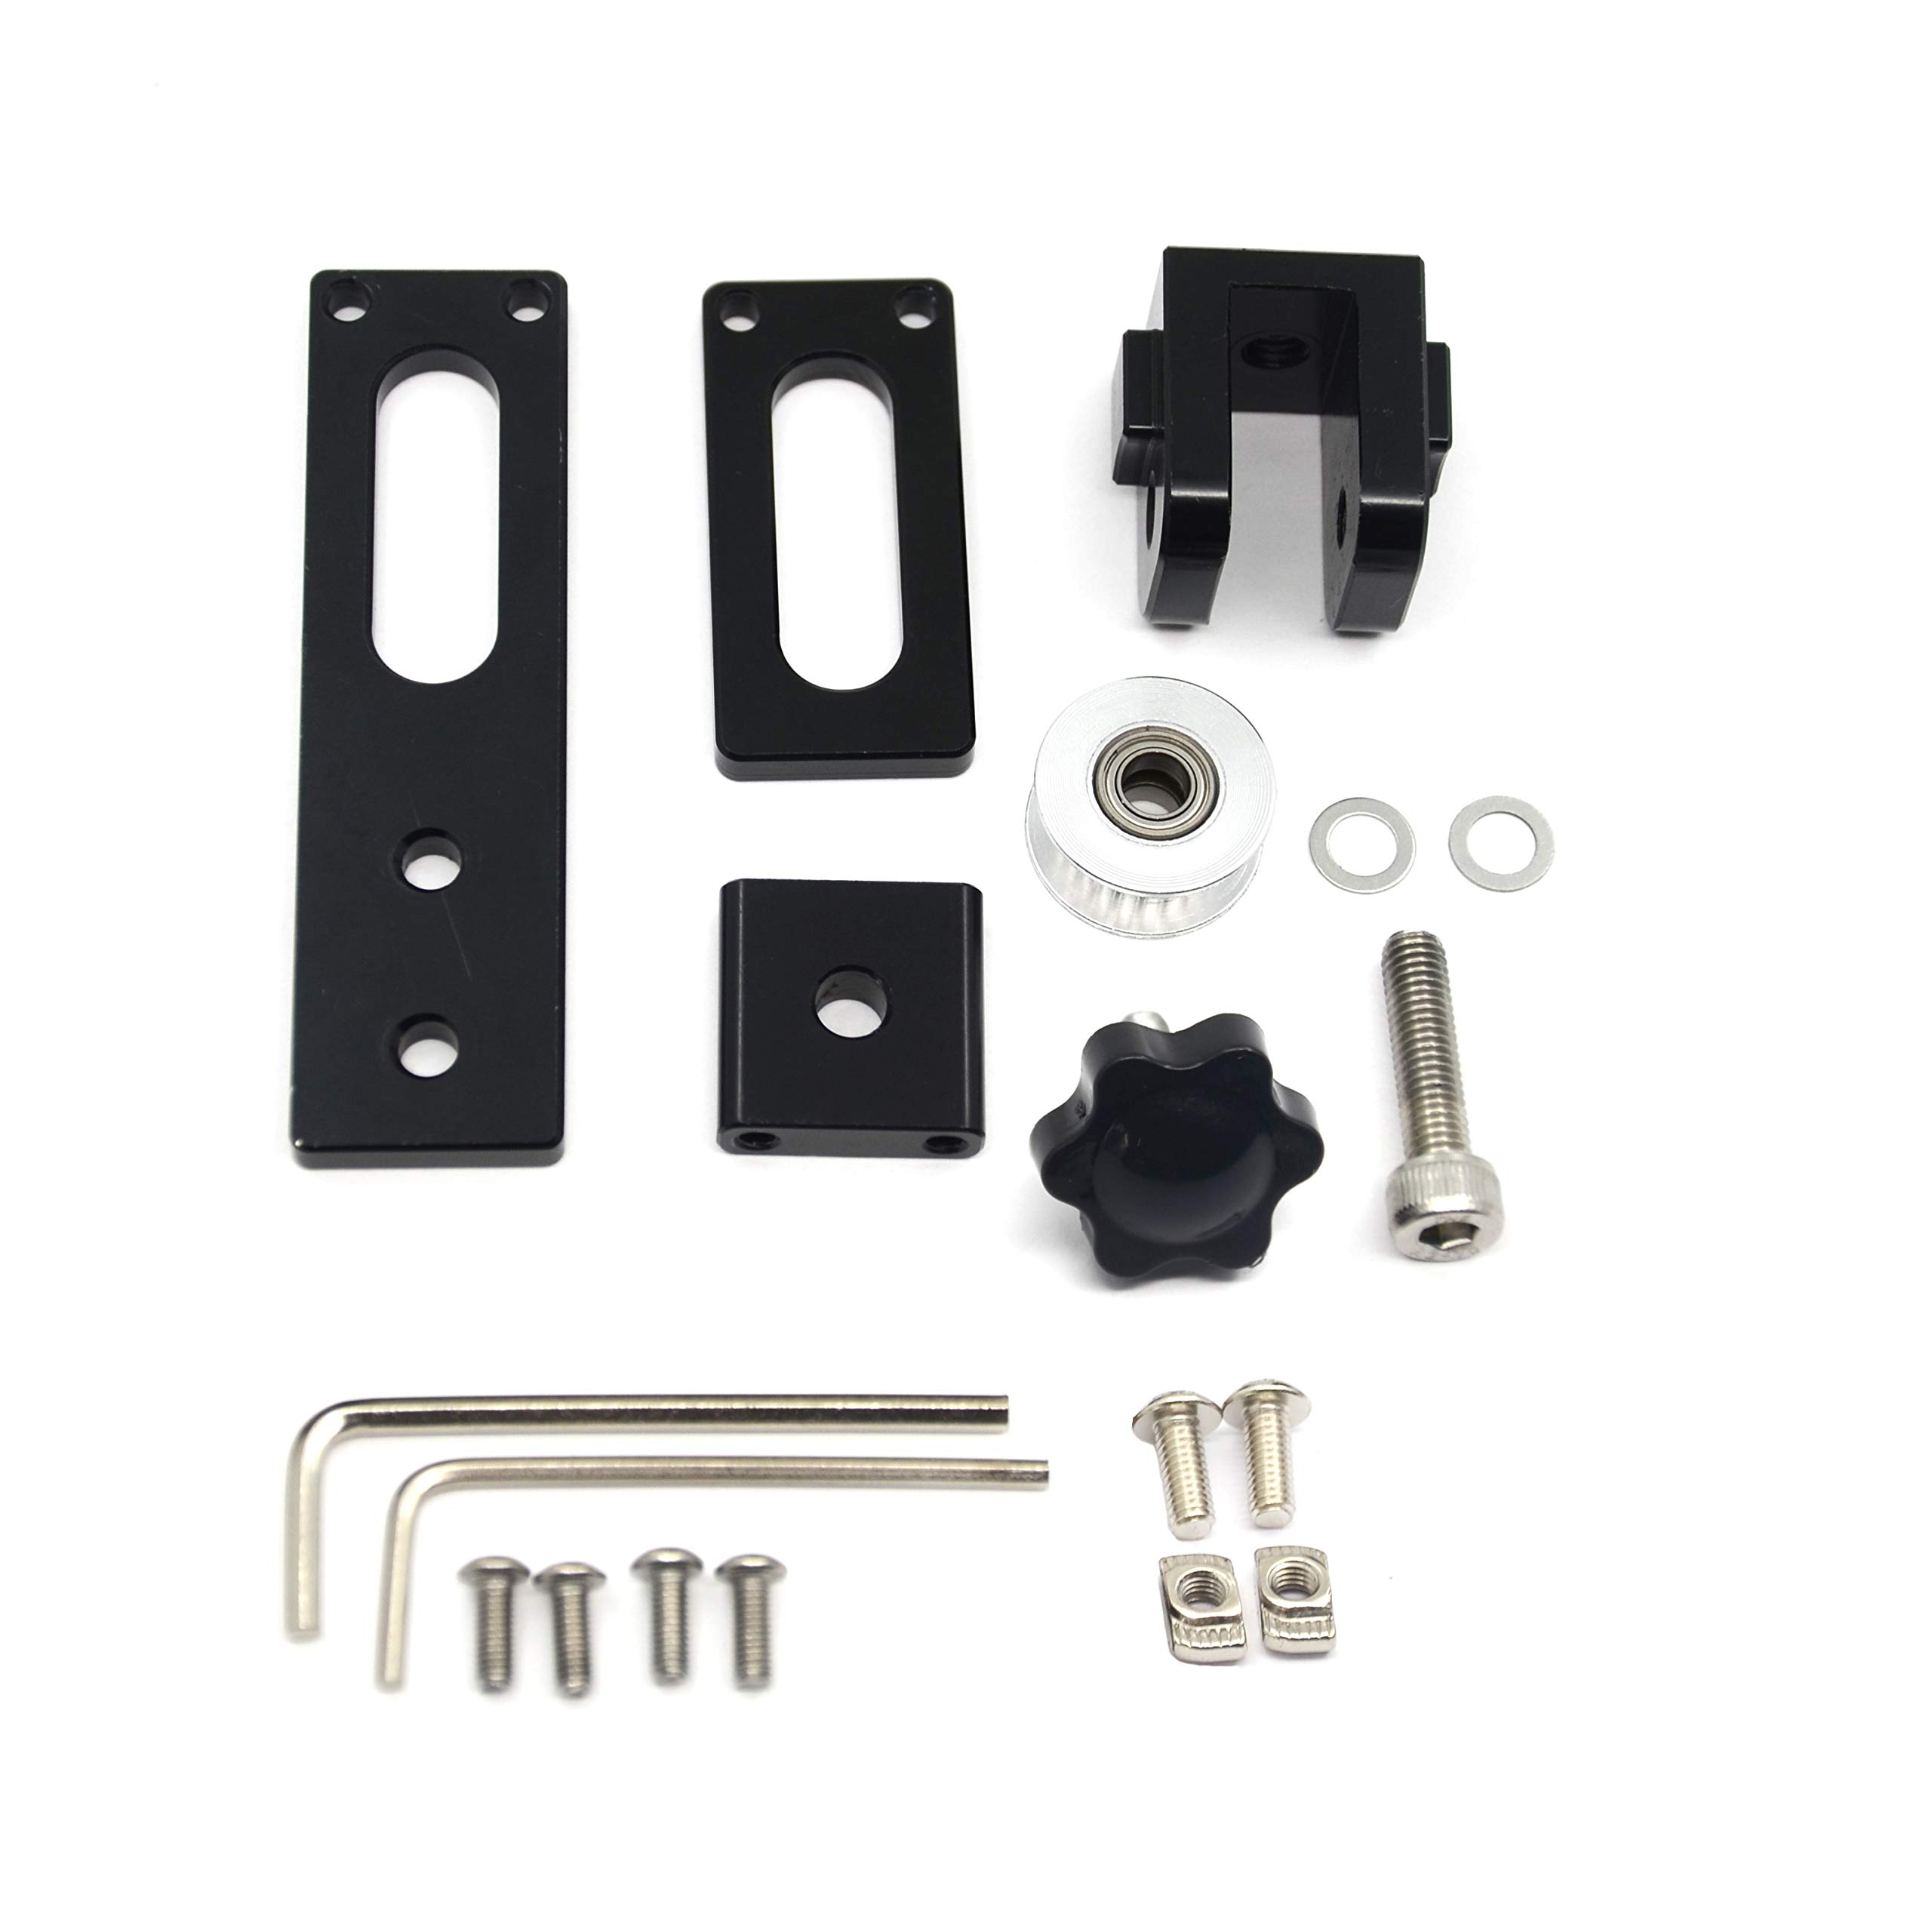
Upgrade 2020 Profile X-axis + 2040 Profile Y-axis Synchronous Belt Stretch Straighten Tensioner for Creality CR-10/ CR-10 V2 (X2020+Y2040, Black)
J**L
Will install on Ender 3 Pro, but you'll loose Y-axis volume
Don't be a dummy like me and order this for your Ender 3 Pro. It'll install just fine, but due to the design for the CR-10 it will sit too high and the printer bed will no longer have full travel. If you want to use this, you'll have to decrease your Y build volume to 214. Just a heads up.I spent way, way too longer figuring out the Y-Axis grinding issues when my bed was auto leveling....
M**O
Works on Ender 3 but you loose Y axis space
I bought this one and the installation was pretty easy even without instructions. Considering that it is the Y belt it is a lot easier to remove the bed to get the belt around the pulley properly rather than finagle with long needle nose pliers to get it into the slot in the bed.The tension is great, put enough tension on it to get it taunt, powered it up and everything seemed fine until after every print the Y carriage would literally bump n grind. It was hitting the both ends as well as making a grinding sound. I thought I might've somehow had a bad servo, end stop switch, etc. I spent two days scouring the internet looking for answers with little success. I finally came back here and low and behold, the first review had my answer. The design of the tensioner is just such that the carriage wheels hit the tensioner before it travels the full length of the rail. It is very imperceptible but if you compare the stock and this one there is about a 2-3mm excess. I considered just grinding it off but the benefit of using the tensioner were not enough so I will be returning. If you are willing to loose about 5mm of bed space since it can't move the bed all the way forward now then I would say go for it. I won't because with my luck those 5mm will be the reason why a large print will fail.
B**L
Poor fit, bad bearings.
Your browser does not support HTML5 video. The single sided X-axis didn’t fit at all.It’s a good idea, poorly engineered at least in relation to my CR-10V2. The distance from the bearing to the mount holes is too long. Much longer than the stock version and the adjustment isn’t long enough to allow you to move the mount out of the way. The mount hits the carriage long before the carriage reaches the end of the bed. You could reset your bed size in firmware and lose the volume but that’s just silly. No way to lock the adjustment either....seems like an oversight. I may cut it down and drill new holes at some point but the stock version works with less effort than modifying this poor design.The Y axis doesn’t fit either. Bed hits the mount before the nozzle reaches the edge of the bed. So, I cut the mount down and drilled another hole in it...made it work. A month later...we’ll, listen to the bearing. These units are poorly designed and built with junk parts. Buy something better.
L**X
Works great on Ender 5
Got the 2020-1s for the Ender 5. Works for both X and Y axis. Obviously you'll need 3 if you do both. High quality and fits in a few minutes, one of the better upgrades for my Ender. Can finally get the belt tension right without a struggle. Edit: Important, make sure you upgrade your belts, the Creality belts are garbage and if you actually put them at the right tension your print quality will definitely degrade. It took me a week of trial and error to finally figure out I was having issues with the Creality belts. Gates belts are expensive and you will need about 3 meters to do the retrofit but it made all of the difference, go figure. You can find belt stops on Thingverse.
T**D
You lose Y-Axis on Ender 3 Pro
Don't buy this for the Ender 3 Pro, unless you intend on losing some of your build volume. The bed carriage wheels collide with this belt tensioner and you will have to adjust your Y-Axis settings to reduce the forward bed travel. I ended up taking it off and not using it until I can fabricate a bracket for it to attach it to the bottom rail of the extrusion.
A**R
Works on an Ender 5+
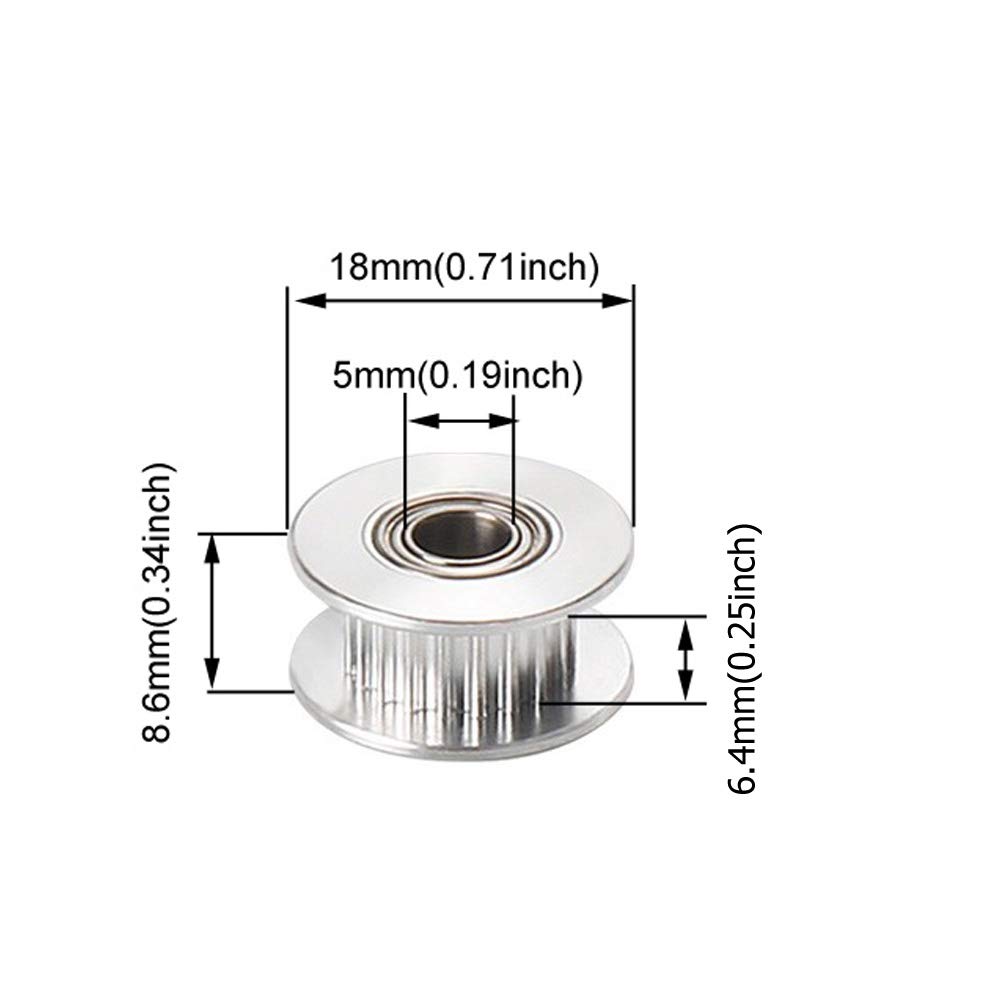
These replaced some home-printed tensioners off Thingiverse. These are smaller and required no alterations to use. They replace all three belt x-y tensioners on the 5+, the factory ones are deficient in design, mine started bending at an angle after several months of operation. For the 5+, the 2020 version worked out of the package, short side and long side mounted. Best way to mount is to slack the belt, remove one end from the carriage hook, snake that back through the old tensioner, remove that, mount the new one, snake the belt back through the pulley and hook it back onto the carriage. Adjust the knob so the pulley is slacked off before trying to hook the belt up. When tightened, the pulley has support on both sides unlike the factory ones. I replaced the smooth pulleys with cogged ones, if you remove the pulley from the tightener, there are two shims, one on either side of the pulley, do not lose. A dab of grease will hold them to the pulley while replacing it. Eventually those tiny pulley bearings wear and go noisy, time to replace then. Don't know how long these will last, lasted 6 months to a year on my previous machine in pretty much 24/7 operation. Bearings can be replaced for cheaper than new pulleys. Supplied pulleys and bearings are standard sizes, replacements can be had on Amazon, of varying qualities.
C**S
Works with longer lk4 pro by modding
I got these to upgrade the non-adjustable and kinda flimsy X and Y axis' on my Longer LK4 pro. The Y tensioner goes on with no changes and is strait forward. The X axis though required some simple modification to make work perfectly. As it arrives the off side contacts the right side gantry frame. So I had to cut approximately 4.8mm off of the end so that it would allow the bolt holes to line up with those already on the X axis frame. I know this part is probably designed for creality style 3d printers but it clearly works if you are willing to tinker. The only tools needed are a vise(optional), a hacksaw, sand paper or files, and a means of accurate measurements. I used my calipers to measure and score a line across the part to be cut, then clamped in my bench vise and hacksawed it. I then deburred and cleaned up the surface with files. With this change it will fit the longer lk4, lk4 pro, lk5 pro, or their clones like the alfawise u30, and u30 pro among others. I also took the liberty of changing the idlers on the new tensioners to black ones because just like flame stickers and fart cans on hondas, looks means better performance.
Trustpilot
3 weeks ago
1 month ago