🚀 Upgrade Your Laptop Game!
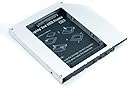
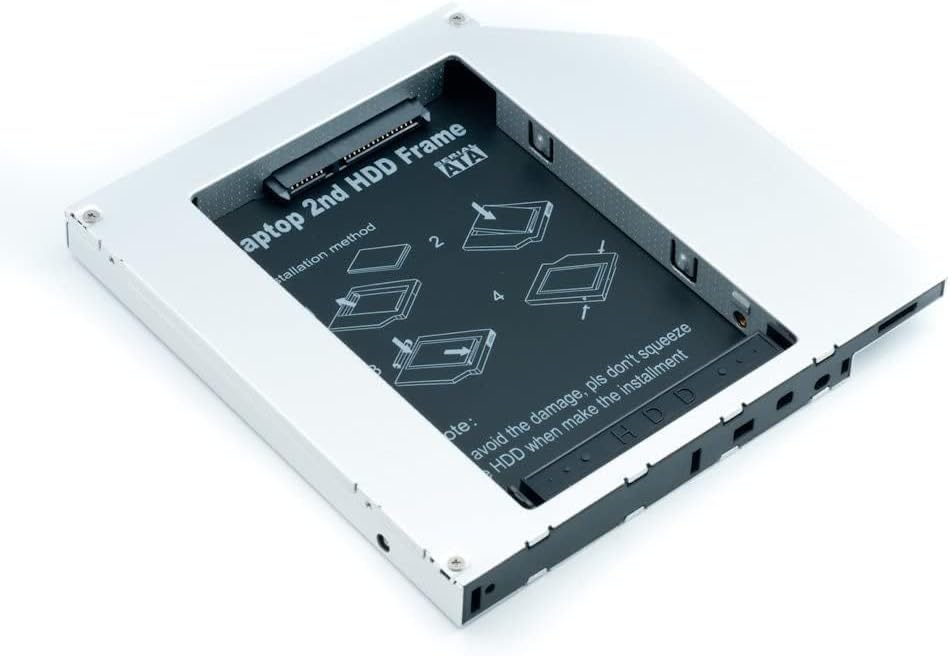
The Laptop 2nd HDD SSD DVD Bay Caddy Adapter allows you to effortlessly replace your laptop's optical drive with a 2.5" SATA hard drive or SSD. Compatible with a wide range of laptop brands, this lightweight and easy-to-install adapter supports hot swapping, making it a must-have for tech-savvy professionals looking to enhance their device's storage capabilities.


| ASIN | B00C94HQV6 |
| Best Sellers Rank | #1,081 in Enclosures |
| Brand | QUMOX |
| Color | white |
| Compatible Devices | Laptop |
| Connectivity Technology | SATA |
| Customer Reviews | 4.5 out of 5 stars 986 Reviews |
| Enclosure Material | Plastic |
| Hard Disk Form Factor | 2.5 inches |
| Hardware Interface | Solid State Drive |
| Hardware Platform | Laptop |
| Item Weight | 100 g |
| Manufacturer | QUMOX |
| Material | Plastic |
| Mfr Part Number | QUMOX |
| Model Number | QUMOX |
| Number of Items | 1 |
| Supported Devices Quantity | 1 |
C**Y
Its compatible with many others
Purchasing item thru Amazon was best choice i made while upgrading my computer system which a Lenovo All-in-one and dvd wasnt working so this purchase made it easier to upgrade...its compatible with not Lenovo but many other computer brands too...
J**J
Works just as it is supposed to
Got this to put a second SSD in my laptop, for backups and more space.
M**.
Great solution
It allows you to add a 2nd sata hdd/ssd to your laptop. I converted a older laptop to a casaOS home server. Works!
L**X
Does what it's supposed to do
Didn't come with any faceplate whatsoever. It does it's job.
G**N
Works
Was easily able to attach my old drive. Works as advertised.
C**S
fits right
Added 2nd drive. Laptop found it at boot
C**.
Not straight
The laptop-side connector was at an angle, so it made it very difficult to fit into the laptop's optical drive slot. Once it finally slid into place, I realized the entire thing was at an angle in the opening, and the front plate of the old optical drive would not fit on there. It works, but there's a nice opening for dust and stuff in my laptop now.
N**S
Great
Works perfectly to fit an SSD into my 2U server.
M**I
Works Great
After months of using the device, I am very happy with it. It is easy to install (it even has a small screwdriver integrated into itself), it fits perfectly. And it works very well, no issues whatsoever.
M**6
Parfait, montage facile pour qui s'y connait
Utilisé pour monter le disque dur d'origine dans la baie optique d'un laptop, et remplacer celui-ci par un SSD. Après démontage sur lecteur DVD sur un Asus X70IO, il faut récupérer les montant métalliques fixés à l'aide de toutes petites vis sur le lecteur d'origine afin de les revisser sur ce caddy aux trous standards, comme ça la fixation dans le laptop est parfait. Il en va de même pour la façade avant du lecteur optique qu'il faut détacher et reclipser sur ce caddy pour l'estétique. Par contre attention, pas de led disponible pour clignoter lors de l'accès du disque dans le caddy.
P**X
Ottimo prodotto, recensione per dettagli
Ho acquistato questo caddy insieme a un SSD Samsung per un ASUS N53SN e il montaggio è stato abbastanza semplice, il caddy è leggero, ma robusto e si adatta perfettamente alla guida del notebook. Ecco cosa ho fatto per montarlo al posto del masterizzatore e lettore dvd/blue-ray. Per sostituirlo è necessario, oltre al cacciavitino fornito insieme al caddy, anche un cacciavite a croce (o a stella) un po' più grande , usato di solito per smontare i computer e un cacciavite a taglio piccolo, tipo uno di questi . Ecco i passaggi: 1)Spegnere il pc e staccarlo da qualsiasi alimentazione (alimentatore e batteria) per evitare qualsiasi corto/scarica che potrebbe danneggiare i circuiti 2)Aprire il pc come se si volesse accenderlo. 3)Sulla tastiera, in alto, ci sono 5 linguette (sopra ESC, tra F4 e F5, F9, tasto STAMP e tasto FINE) che permettono di toglierla: premetele con il cacciavite a taglio piccolo e togliete la tastiera (ossia appoggiatela sopra il touchpad, non è necessario staccare i connettori dalla scheda madre) 4)Tolta la tastiera, circa dove c'erano i tasti per "è", "ò" e "à" ci sono 3 viti disposte in verticale, basta svitare, con il cacciavite a croce, la vite centrale, ora il lettore DVD è staccato. 5)Con delicatezza, tirate fuori il lettore (personalmente è bastato tirarlo con le dita ed è uscito) 6)Svitate le 4 viti che fanno da guida ad un carrello a L e le 2 viti che tengono il supporto per la vite smontata nel punto 4 (con il cacciavite fornito insieme al caddy) e rimontarle nel caddy (questa operazione è stata difficoltosa perché i buchi non erano perfettamente centrati). 7) togliete il frontalino del masterizzatore: .. a)aprite il lettore inserendo uno spillo nel buco utilizzato per togliere i cd forzatamente e spingendo un po' (si trova a destra del pulsante di apertura) .. b)spingete il cacciavite a taglio sulle 2 clip poste ai lati del frontalino, quindi questo vi verrà fuori .. c) chiudete il masterizzatore 8) Inserite il frontalino sul caddy facendo attenzione a inserire le tre plastichette nei buchi del caddy (c'è un solo verso, quindi non vi sbaglierete :) ) 9)inserite il caddy nel pc e chiudete la vite di fissaggio 10) richiudete la tastiera inserendo prima il lato della barra spaziatrice, in modo che le 3 linguette si inseriscano e poi premete nella parte alta della tastiera per ribloccarla Buon 2° HDD!
J**N
Reliable Drive Bay - Runs my Operating System without issue
Product works exactly as intended, and has been reliable with no outages running an Operating System on an SSD from this drive bay.
Trustpilot
1 week ago
2 months ago