We remain fully operational. Our teams are working around the clock to ensure your deliveries continue safely.

下载应用程序


Buy anything from 5,000+ international stores. One checkout price. No surprise fees. Join 2M+ shoppers on Desertcart.
Desertcart purchases this item on your behalf and handles shipping, customs, and support to SINGAPORE.
🔧 Unleash Your Creativity with Style!
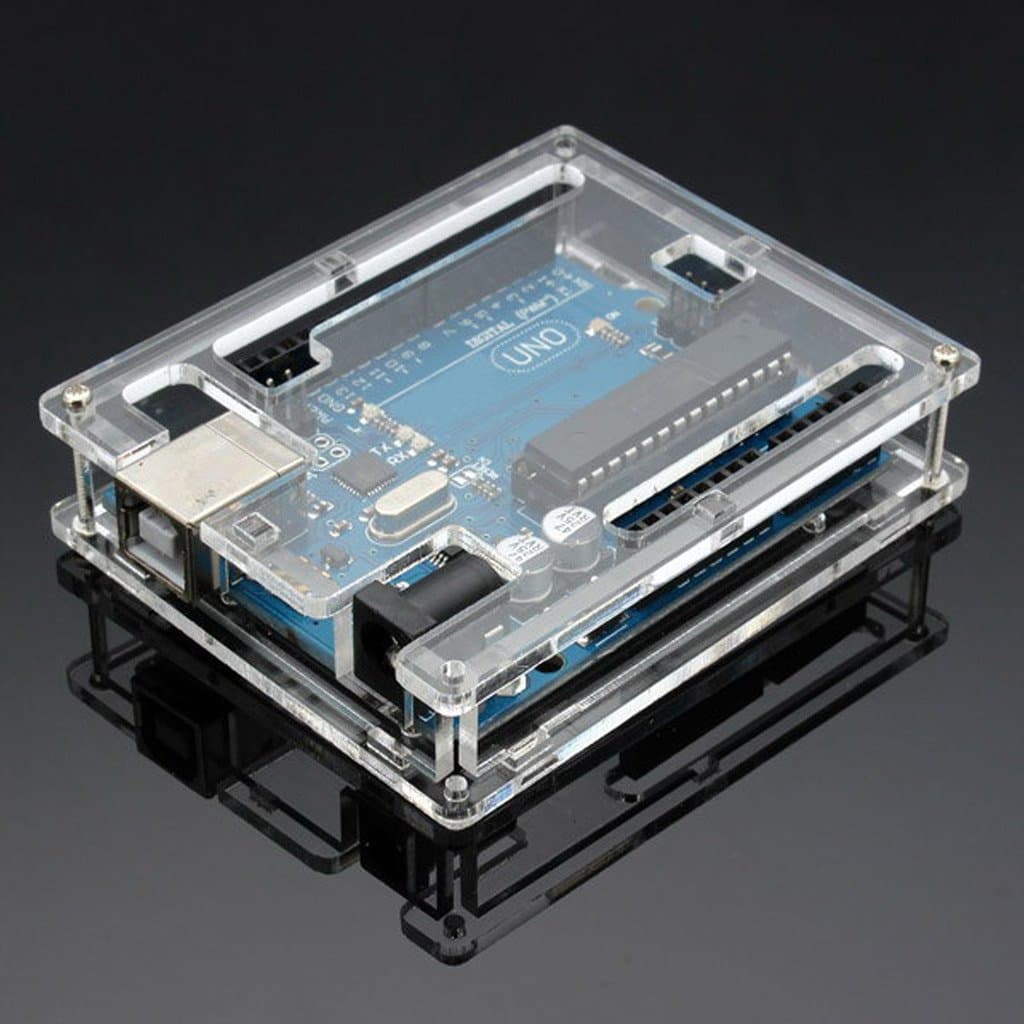
The Uno R3 Case Enclosure is a premium transparent acrylic box designed specifically for the Arduino UNO R3 development board. Weighing just 53g and measuring 79.5 x 64.5 x 21mm, this enclosure offers a sleek, modern look while providing robust protection for your device. With no assembly required, it's the perfect addition to any tech-savvy workspace.
| Item Dimensions D x W x H | 0.83"D x 2.54"W x 3.13"H |
| Material Type | Acrylic |
| Color | Uno |
| Is Assembly Required | No |
| Compatible Devices | Server |
T**E
Finally
Solid design for Uno nR3. Fits good and looks good!
J**.
Good Box for Arduino
The plastic pieces were hard to scrape the brown paper tape off of and the machine screws and nuts were very small and difficult to handle and work with - plus there was no mention of what to do with the plastic beads in the instructions - so I put them on the bottom of the circuit board - I did get it together and it works quite well to protect the Arduino UNO electronics - Thanks !
K**.
Difficult to put together- but protects Arduino Board
Took about 1/2 hour to put together. The product itself is made pretty well, but getting all the parts installed was frustrating. One word of advice. Do not try to put it together in a room with carpet. the screws and nuts are tiny. If you drop one, good luck finding it. It did come with instructions, however it is very hard to see the illustrations. It also comes with little clear plastic spacers, that go between the bottom of the board, and the case bottom. No mention in the instructions about this. At the end of the day, for the cost, it serves its purpose well. Cant beat the price. Only giving it 3 stars, because of installation. If you dont care about that, then the product gets 5 stars.
W**E
Nice little case
Pretty easy to build. Screws are very tiny
Y**Y
Seriously?
Firstly, these have to be the worst instructions I have ever seen in my life. After fiddling around then finally finding a YouTube video I was able to put it together, but then come to fine out that 2 of the mini bolts are missing so you end up with 2 corners that you cant screw down lol Wow. I ended up just using the bottom plate so I can go ahead stick on a velcro strip. Only $5 so not gonna bother sending it back. This item has earned a rare 1 star rating from me.
J**N
Needs a little patience in assembling but looks very nice when done.
Make sure you are somewhere where if you drop a screw you won't loose it. They are very tiny. Taking the paper off goes OK if you go slow and coax it some. The screws on the bottom are a bit long and could scratch the surface of where the unit is placed. I had to buy some extra think pads to protect the table it rests (doubling up because screws were too long and stuck out). After it is assembled, it looks really nice and is really solid and should protect your arduino board.
L**G
Good sturdy protection for board only projects.
Took some time to figure out that it had to be assembled upside-down. Otherwise it was exactly as stated. All hardware was correct. Even had extra parts. After assembly it was a good sturdy case. I don’t have to worry about damaging the board now. You can’t attach other boards to the main board as it’s closed up. Access to the reset pin requires using something narrow like a pen because the cutout over the button is small.
A**N
Did not fit together without modification
The BAD:I'll start with the major issue... This product uses tabs to fit the pieces together because being sandwiched by the top and bottom. All of these tabs fit well except for one. The hole directly underneath where the DC barrel jack does on the Uno R3 board is significantly too small for the tab to fit. Using light to medium-light taps with a mallet couldn't even force it in. Acrylic can be hard to work with without cracking it, so my "solution" depends a lot on luck... Using a 1/16" drill bit and the high speed gear on my drill, I carefully and lightly used the side of the drill bit (at max drill speed) to go back and forth and gradually eat away at the side of the hole until it was wide enough I was able to force the tab in. Fortunately, I have suffered no cracks during this process. I've attached a photo of the problem tab after I finished assembling. (Don't mind the glue; I used big dollops of hot glue to help prevent the nuts from backing off and also to act as scratch-free feet for my surfaces.)The other issue is with the paper backing on the acrylic sheets. I fully expected this one, but it's still annoying enough to mention. If you've ever worked with any acrylic kits before, you are likely already familiar. I read one user mention that you can use strong tape on the paper backing and it comes right off with the tape... I have no idea what kind of tape he was using (I really do want to know though), but I didn't have any luck, and went back to picking at the corners with my fingernails.Finally, just a small issue, 3 of the small holes and tab sockets on the acrylic sheets had been cut or scored, but not punched out. I was able to finished removing the material with a ballpoint pen.The NEUTRAL:Getting the corner screws in was actually pleasantly easy, however the screws and spacers combo for mounting the board was incredibly fiddly. I ended up putting the spacers in place over the holes, carefully setting the board down, then using a well-magnetized screwdriver to pout the scres in place and reposition the spacers as needed, then due to the tight spaces around the screwholes, used on of the long screws to hold the board screws down while I removed the magnetic screwdriver.The GOOD:The finished product still looks fantastic.I can easily read all of the pin labels on the board.It feels very sturdy.The price is right.