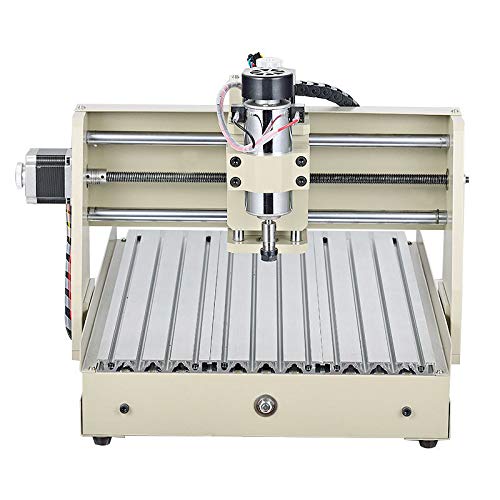

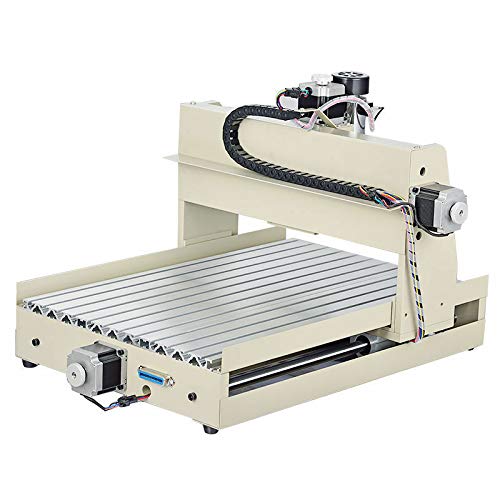
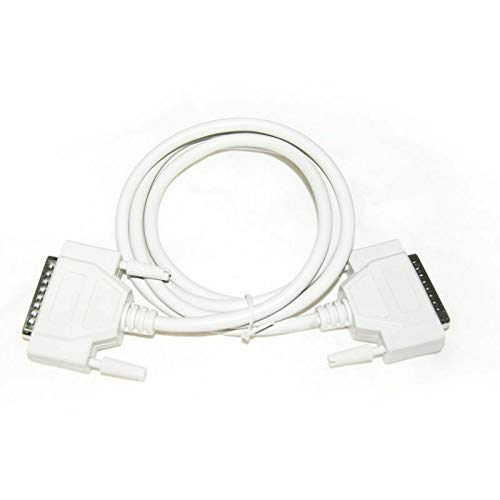


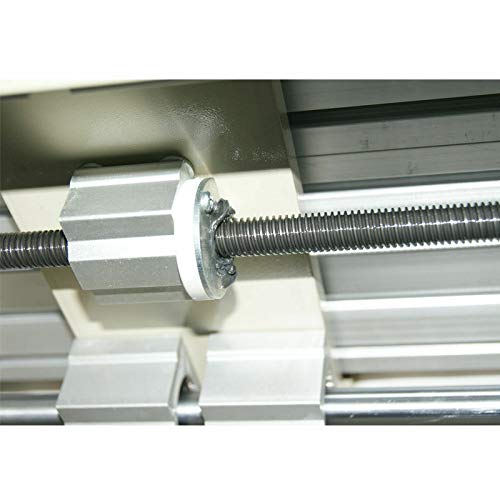
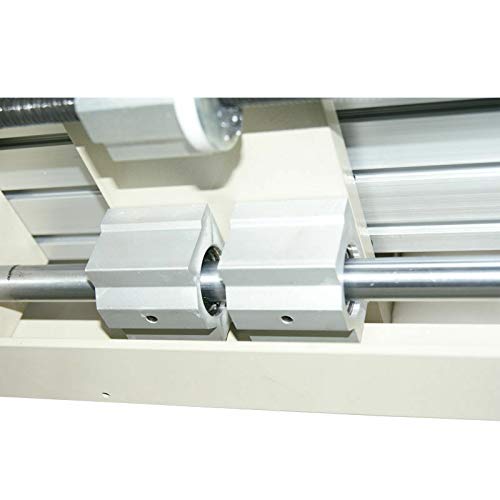
Technical Parameters: 3040T triaxial engraving machine part parameters: Effective working travel: 275(X)mm*385(Y)mm*60(Z)mm Shape dimension: 610x480*400mm Max.workpiece dimension: 70mm Work table dimension: 320mm*530mm Frame materials: aluminum alloy 6063 and 6061 Leadscrew 1404 double thread Trapezoidal screws Driving units X axis : 1404 trapezoidal screws Y axis :1404 trapezoidal screws Z axis :1404 trapezoidal screws Sliding units X axis : Dia.16mm chrome plate shafts Y axis :Dia.16mm chrome plate shafts Z axis :Dia.12mm chrome plate shafts Stepping motor type :57 two-phase 1.8A Spindle motor :400w motor 500~8000PRM/Min Principal axis collet : ER11 / 3.175 mm Repeat accuracy : 0.05mm Spindle precision : radial beat acuities 0.03 mm Control unit: triaxial one-piece drive + ring variable power + PWM speed Carving Instructions : G-code/.tab /.nc / .ncc/.txt Communication interface :through parallel connection with computer Maximum Idle speed:1500mm/min Working Speed :50-1500mm / min (different material with different speed settings) Machine weight :28KG Control box parameters: Operating Voltage:AC110V(we also stock USA.UK.EU.AU.plugs and 110V-240V power version for the country all over the world.) Control unit:2.5A stepping motor driver plus adjustable spindle speed controller Computer connection:on board palrallel port Command code:G code Protection:Emergency stop button
B**Y
May turn out to be a 5 star machine
Received the machine 9/5. Finally made the first test cut today 9/21. The machine performed flawlessly. It has a sturdy frame and seems well built. Using LinuxCNC to drive the machine and Inkscape for design. A sheet metal support that holds the wiring underneath the bed was bent, apparently during shipping. The nut that moves the gantry down the threaded rod would have hit the bent part if not repaired. If you buy one of these, inspect it carefully before running. All 3 threaded rods were covered with wooden splinters from the packaging and had to be cleaned with a toothbrush and paint thinner. Once I'd removed all the grease I noticed numerous metal shavings embedded in the threads, and some sharp burrs. Had to pick out the shavings, and use 600 grit sandpaper to remove burrs. This required removing the spindle carriage to access the rod for the Z axis. The included instructions offered few clues to get the machine setup. It took much research online, measuring, and guesswork, accomplished mostly by my son, but the machine is finally ready for work. Despite all the difficulties getting this going, I believe the machine I got for the price I paid was a good deal.
TrustPilot
5天前
1天前
